2015 Free Christmas Dot-to-Dot Puzzles

2015 Free Christmas Dot-to-Dot Puzzles

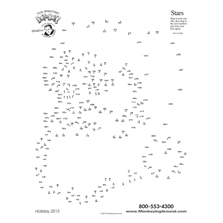
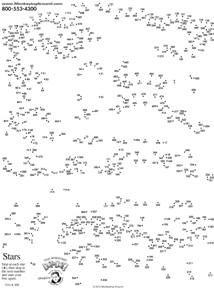
Please feel free to download and print the following Christmas Dot-to-Dot Puzzles for your parties, classroom or just if you feel like doing a puzzle.

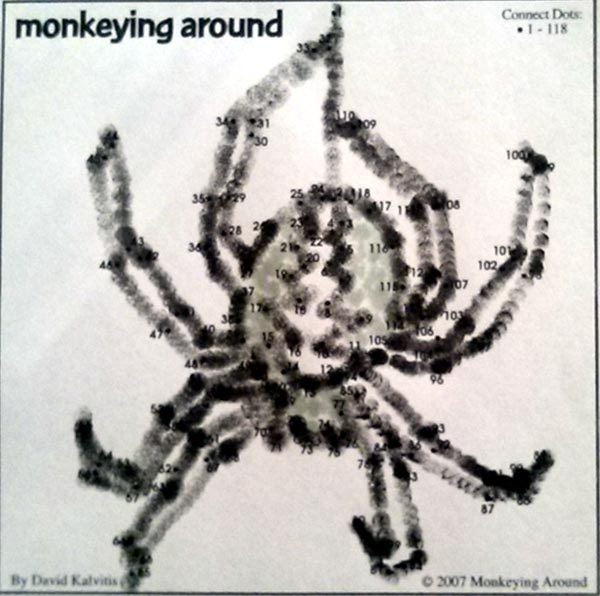
The large puzzle is from our Greatest Dot-to-Dot Super Challenge Book #5.  The mini puzzle is from our Volume 2 Newspaper Book.  Our puzzles are recommended for ages 8-108.

This puzzle will also be available for a FREE download on our Greatest Dot app on Christmas Day.  Greatest Dot AppMonkeying Around Greatest Dot App logo

HURRY:

Our “holiday” free sample puzzles will only be available during their specific holiday. Check back for the next holiday freebie dot-to-dot. For our year-round sample puzzles go HERE.

Each image will download a PDF. You will need Acrobat reader to view and print these pdf files.Christmas Dot-to-Dot Sample PuzzleFree Christmas Dot-to-Dot

TIP 1:  Make a second copy of the puzzle and share it in a Holiday Greeting Card.

TIP 2:  Solve the mini Newspaper puzzles using the Q-Tip painting technique.


2015 Halloween Card

2015 Halloween Card

2015-Halloween-DotCard-13


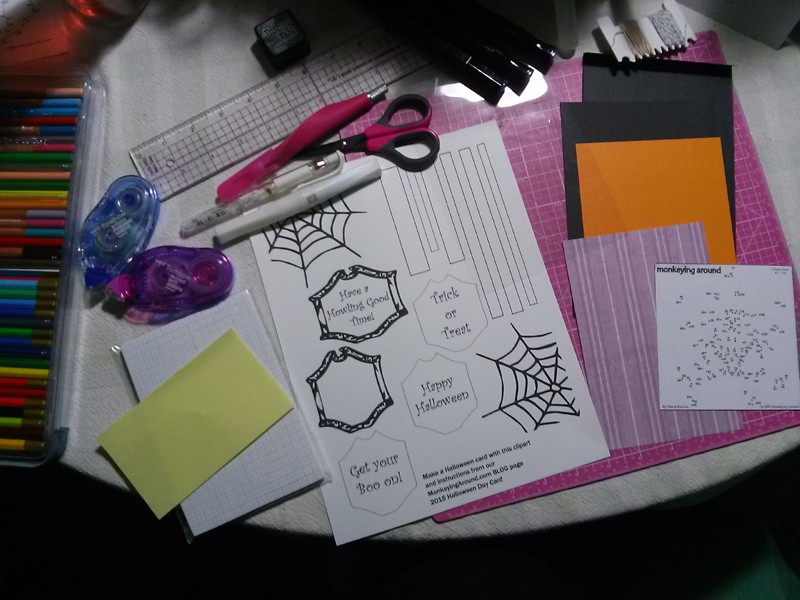
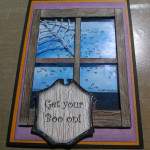
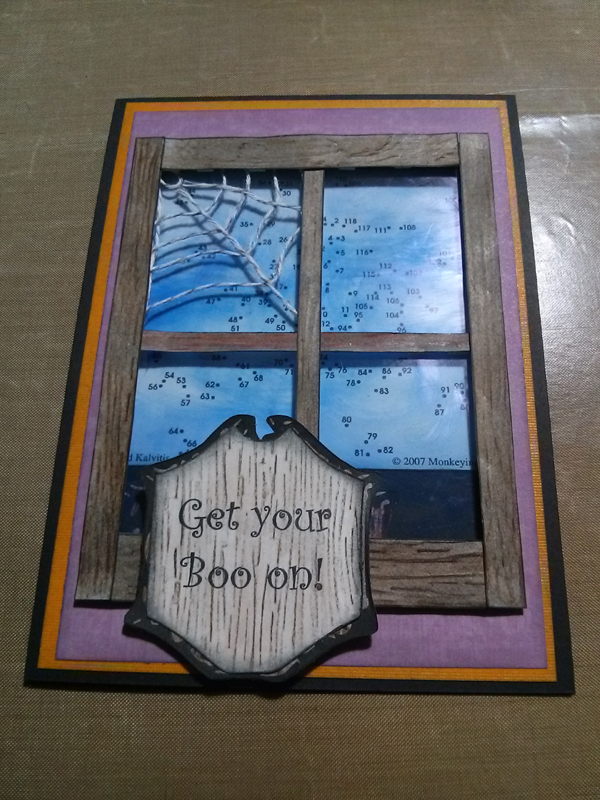
Here is a new 5″ x 7″ Halloween I card made using a Sample Dot-to-Dot on the inside. This window card is fairly simple and uses every day craft items to create. You can make your own using the artwork file on the right and the free puzzle as a extra card bonus. I added a few choice sentiments so you may customize the card according to your own interests. The colors of the card base and front window matting can be changed to your favorite colors for Halloween.
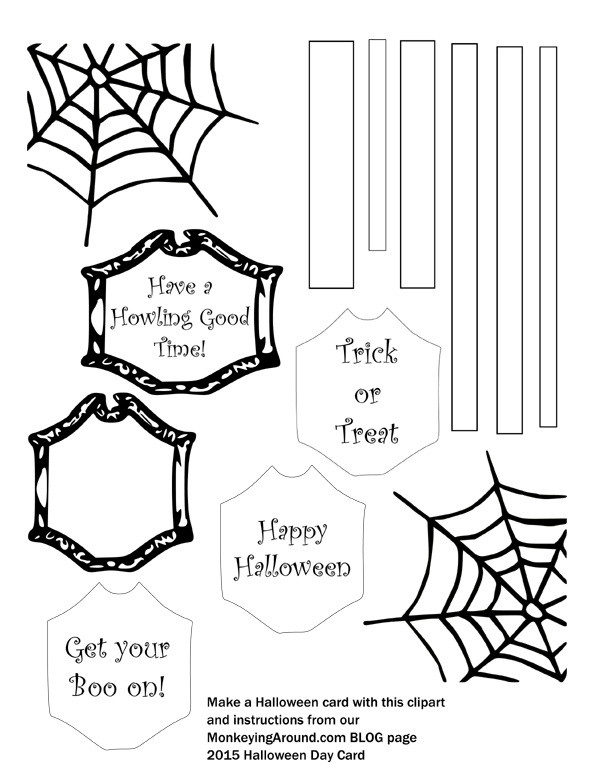
 

Supplies I used:

  • 1 sheet of purple patterned paper for the card front
  • 1 sheet of orange cardstock for the card front
  • Clip art sheet with images printed on white cardstock
  • 1 sheet of heavy black cardstock for base
  • Greatest Dot-to-Dot Sample Newspaper Puzzle for Halloween
  • 4½” x 6½” piece of acetate
  • Grey bakers twine

Tools I used:

  • Watercolor Pencils
  • Waterbrush
  • Distress Ink pad
  • Alcohol markers
  • Isopropyl alcohol
  • Piece of Foam Square
  • Tree bark embossing folder
  • Scissors
  • Double-sided Tape
  • Glue pen
  • Paper Cutter
  • Foam Tape
  • Pencil
  • Silver mica eyeshadow
  • White pen
  • Cutting mat
  • Craft knife

Paper dimensions:

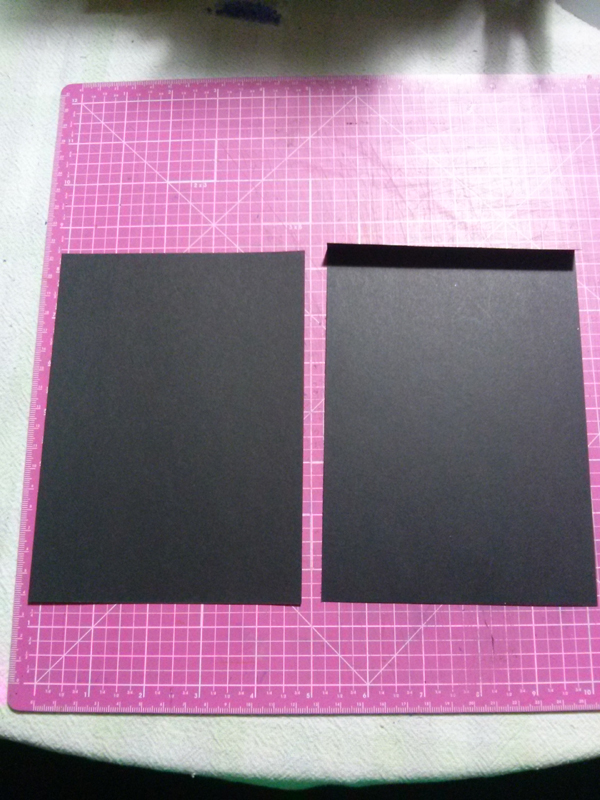
  • Cut the heavy black cardstock down to two pieces, 5″ x 7½” (score at ½”) and 5” x 7″. These two pieces of black cardstock will be combined to make the base for the card. Since the card is opening up instead of on the side I needed a 5″ x 14″ base. I don’t have cardstock that is 14″ long, so piecing the two pieces is the best way for me to make this card.
  • Cut the orange cardstock for a mat 4¾” x 6¾”.
  • Cut the purple patterned paper for a mat 4½” x 6½”.

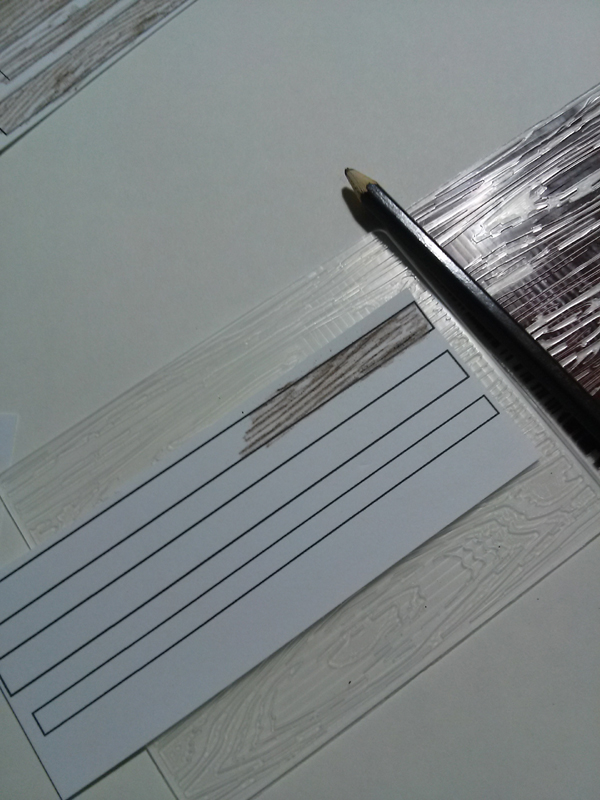
Color the window frame pieces. I placed the pieces(before cutting) on the embossing folder and then colored them. It gave the look of wood texture without the embossing. When I was finished cutting the pieces out I used the distress ink on the edges. The window pieces are in order from left to right ( Top, middle cross frame, bottom, left, right, middle cross frame).
2015-Halloween-DotCard-02

The base card pieces should look like this.  I did not connect them until later.
2015-Halloween-DotCard-03

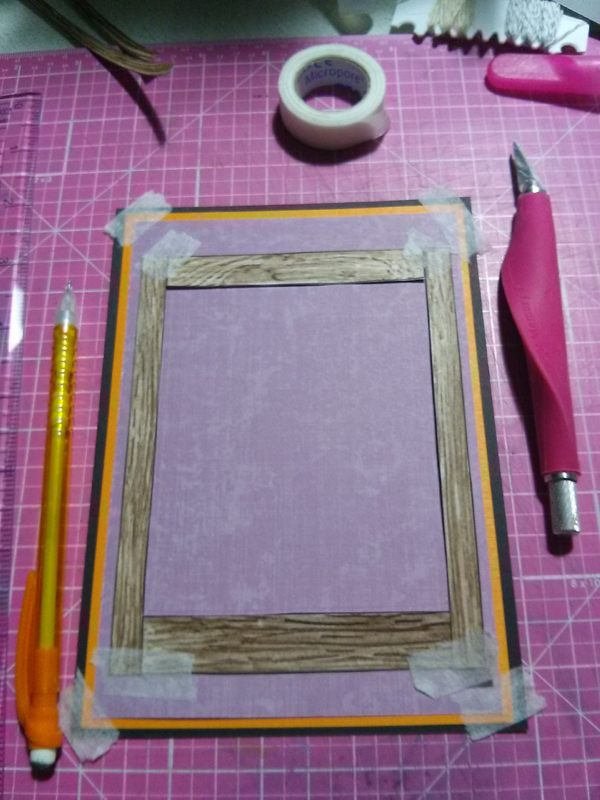
Place the 5″ x 7″ piece of cardstock down.  Center the orange matting on top of the black.  Center the purple on top of the orange.  Use repositionable tape to hold the pieces together on the cutting mat.  Do not glue anything yet.  Set the window frame on top of the purple cardstock where you want it placed.  Again, use repositionable tape to hold those pieces to the purple cardstock.  Trace inside the window frame on the purple cardstock.  This will show you where to cut out the window.
2015-Halloween-DotCard-04


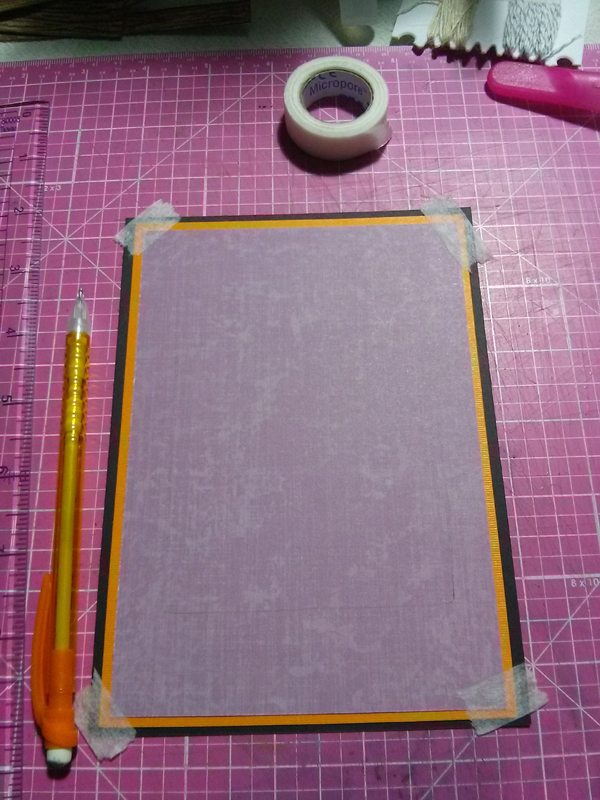
Remove the window frame to show the traced line.  Using a craft knife and a straight edge, cut the window frame out, making it about 1/8″ wider than the tracing.  The window frame should be able to cover the hole.
2015-Halloween-DotCard-05


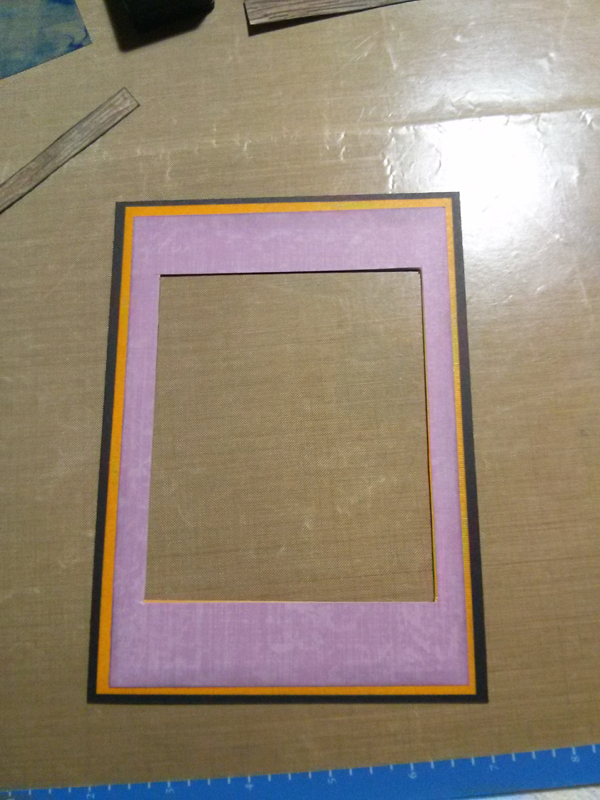
The front of the card should look like the image below.  Still, do not attach the pieces yet.
2015-Halloween-DotCard-06


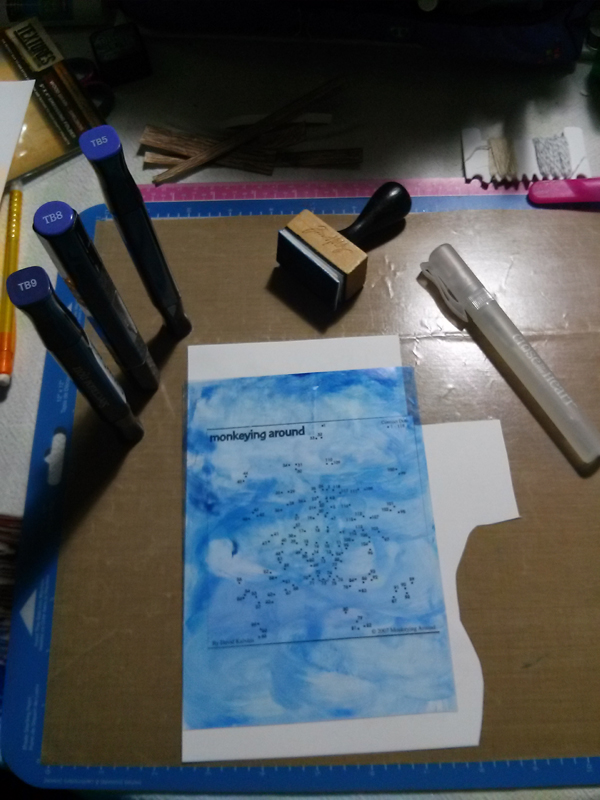
Take the acetate sheet and place it on a no stick craft mat.  Using the alcohol markers color the back of the acetate, putting the lightest blue at the bottom and the darkest at the top.  Take a piece of foam sheet, spritz it with alcohol and swirl the dark blues together until you are happy with the result.  This will be your “night” sky through the window.  You can check it by placing it on top of a white sheet of paper.  Place the black cardstock that has the window cut out down first.  Attach the blue sky acetate to the top of it.  Next attach the orange cardstock, making sure to line up the window openings.  Last, attach the purple patterned paper, again, lining up the window openings.
2015-Halloween-DotCard-08


To make the web, cut out the image of one of the webs from the pdf print out. Place it under the acetate, lining it up where you want to make the webbing.  Using the glue pen and the grey twine, start gluing pieces of twine to the top of the card.  The pdf image is your guide to making the web.
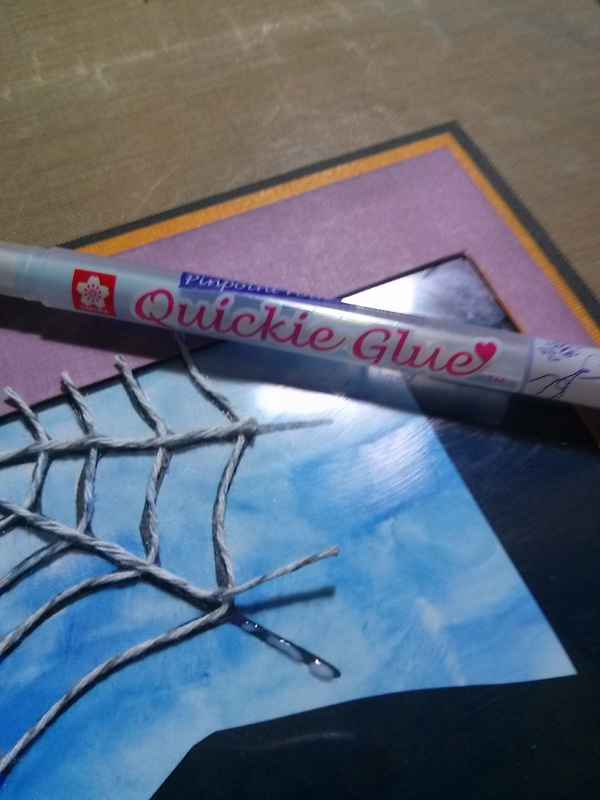
2015-Halloween-DotCard-09


I use a pen cap to hold the web down until the glue started to hold the twine.  Trim off any extra twine to just outside the window frame.
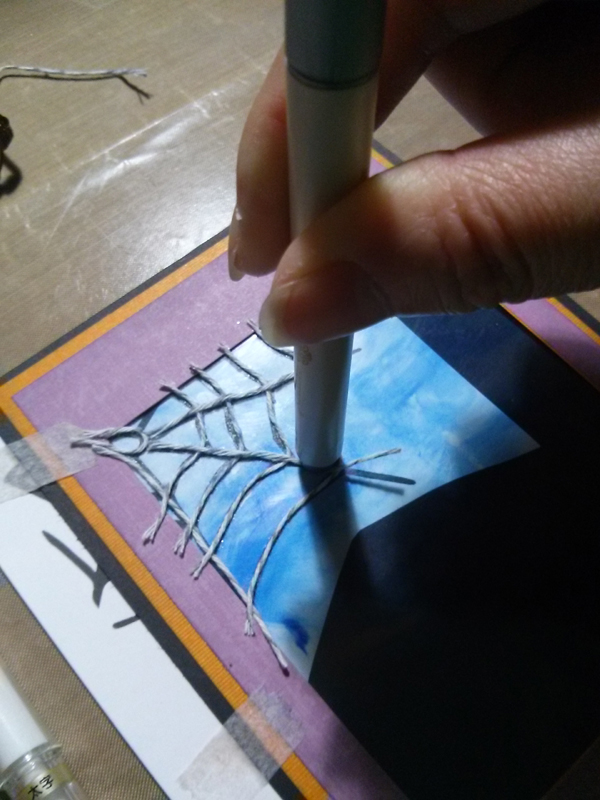
2015-Halloween-DotCard-10


Line up the window frames on the front of the card.  One at a time put popup foam squares on the back of each frame and stick them back down to the card. Popping up the frame will give the card dimension and make the web set between the frame and the window acetate.
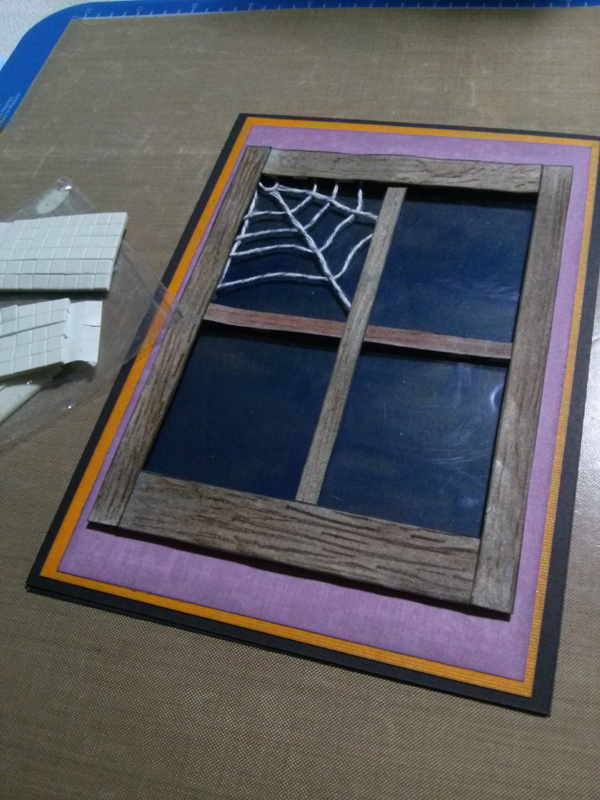
2015-Halloween-DotCard-11


Your card should look like this from the side.
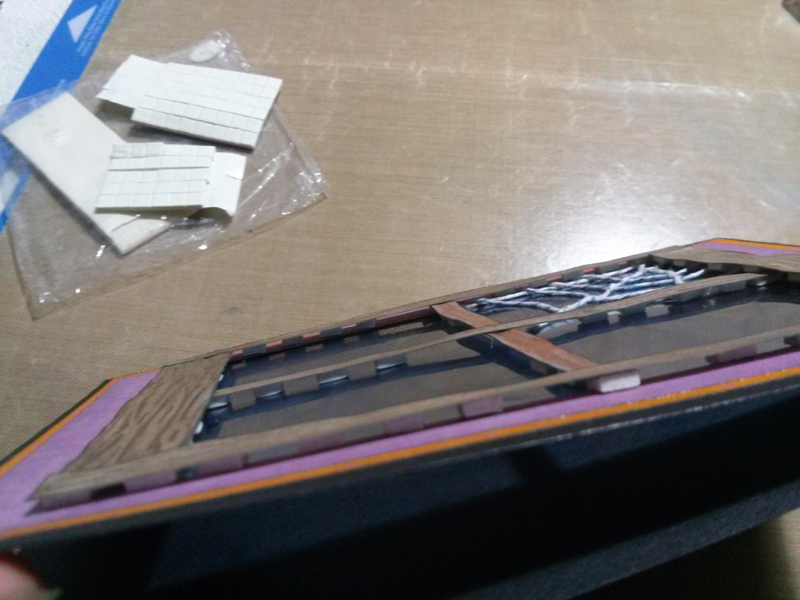
2015-Halloween-DotCard-12


Glue the back of the card to the front by plainge the ½” scored piece at the inside top of the card and adhere securely.  Place the puzzle on the inside of the card and decorate with left over images from print out.
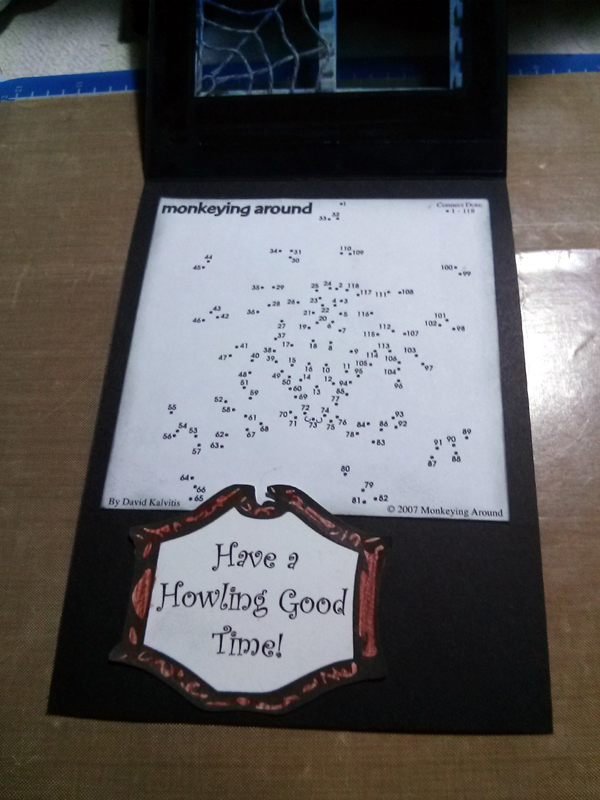
2015-Halloween-DotCard-14


My card looks like this.  What does yours look like?  Send a pic to office at monkeyingaround · com and share.

2015-Halloween-DotCard-13


2015 Halloween Puzzle

2015 Halloween Puzzle

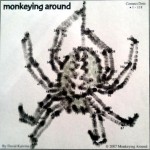
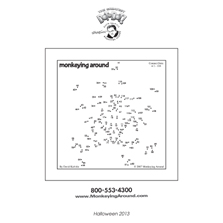
Greatest Dot-to-Dot Newspaper Halloween Puzzle

Please feel free to download and print the following Halloween Dot-to-Dot Puzzles for your parties, classroom or just if you feel like doing a puzzle.

The large puzzle is from our Greatest Dot-to-Dot Adventure Book.  The mini puzzle is from our Volume 5 Newspaper Book.  Our puzzles are recommended for ages 8-108.

This puzzle will also be available for a FREE download on our Greatest Dot app on Halloween.  Greatest Dot AppMonkeying Around Greatest Dot App logo


HURRY:

Our “holiday” free sample puzzles will only be available during their specific holiday. Check back for the next holiday freebie dot-to-dot. For our year-round sample puzzles go HERE.

Each image will download a PDF. You will need Acrobat reader to view and print these pdf files.


TIP 1:  Make a second copy of the puzzle and share it in a Holiday Greeting Card.

TIP 2:  Solve the mini Newspaper puzzles using the Q-Tip painting technique.

Halloween Dot-to-Dot Q-Tip Painting Technique

2015 International Dot Day – September 15th

2015 International Dot Day – September 15th

dot day 2015It’s the 6th annual celebration of Peter Reynold’s International Dot Day. International Dot Day (every September 15th) is a celebration of creativity that was inspired by Peter H. Reynolds’ book “The Dot”. His Celebri-dots Blog is filled with other authors, illustrators and celebrities who share in the dream of a more creative world. For International Dot Day 2012 David created his first “Mark”. He has continued this wonderful celebration by creating a 2015 “Mark”.
International Dot Day


Celebrate your individual artistic talents with the rest of the world by making your own “dot”. Not sure what to do? The International Dot Day Facebook is loaded with “Dot” happenings from around the world and ideas.

David Kalvitis coloring in the dots

David Kalvitis coloring in the dots

20150801_221552


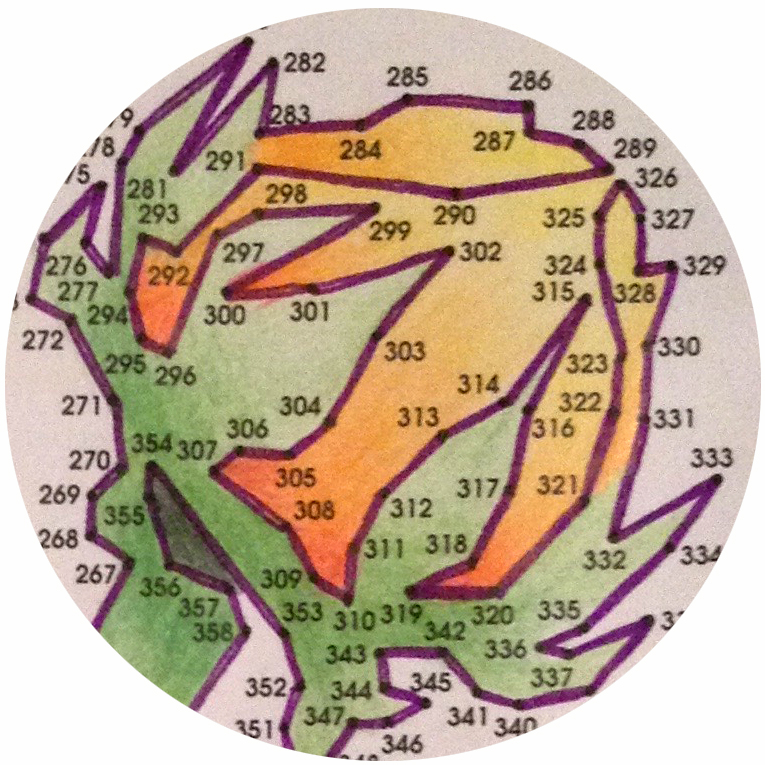
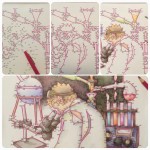
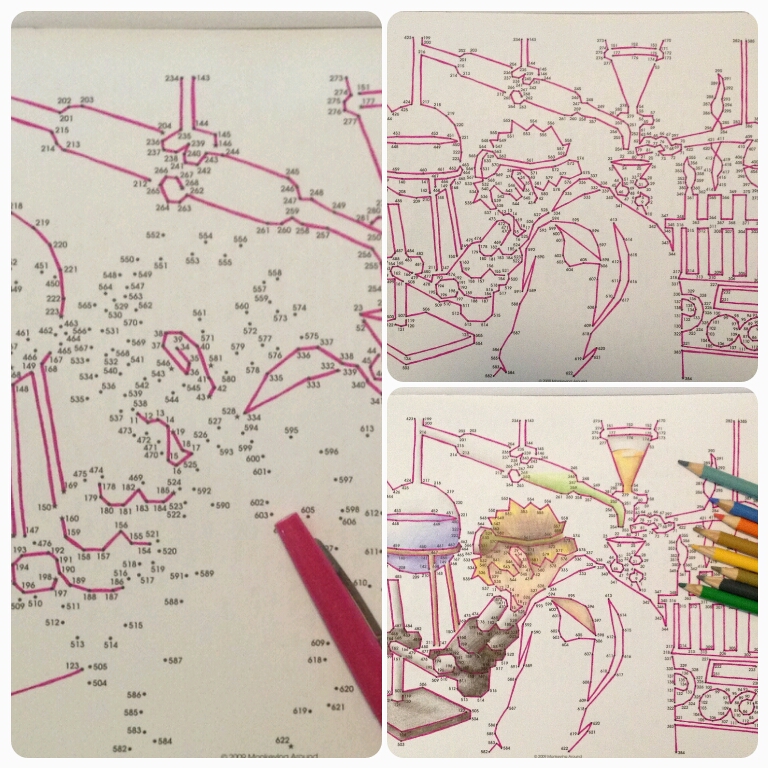
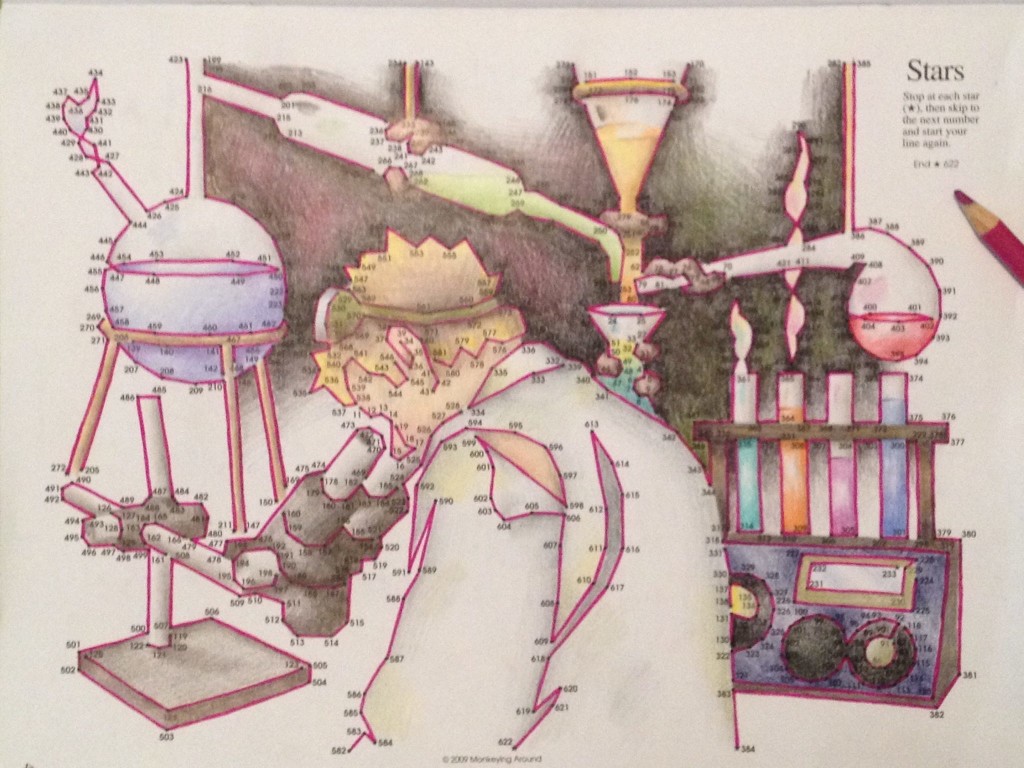
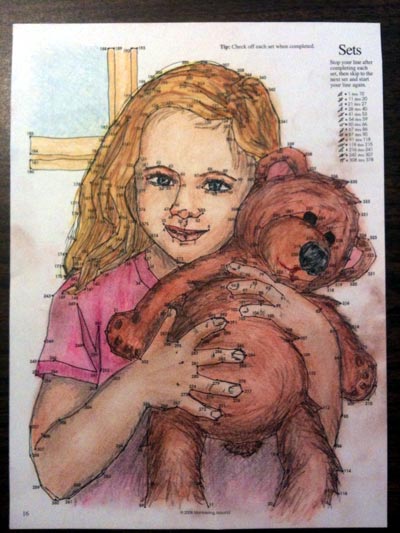
In celebration of National Coloring Book Day, August 2nd, David Kalvitis(creator of the Greatest Dot-to-Dot Books) grabbed one of his puzzles from Super Challenge Dot-to-Dot Book 7 and started by connecting the dots with a Papermate Flair Marker.  The final image was then colored with Crayola pencils.

It is very easy to see, he has the mind for art. The colored image really brings out the detail of the puzzle. If this makes you want to try to color a puzzle of your own, we have free puzzles on our Sample Page.  If you only want to color, Dover Publications has free colouring pages.

Happy Dot-to-Dotting and Happy Coloring!!

IMG_5749


20150801_221801

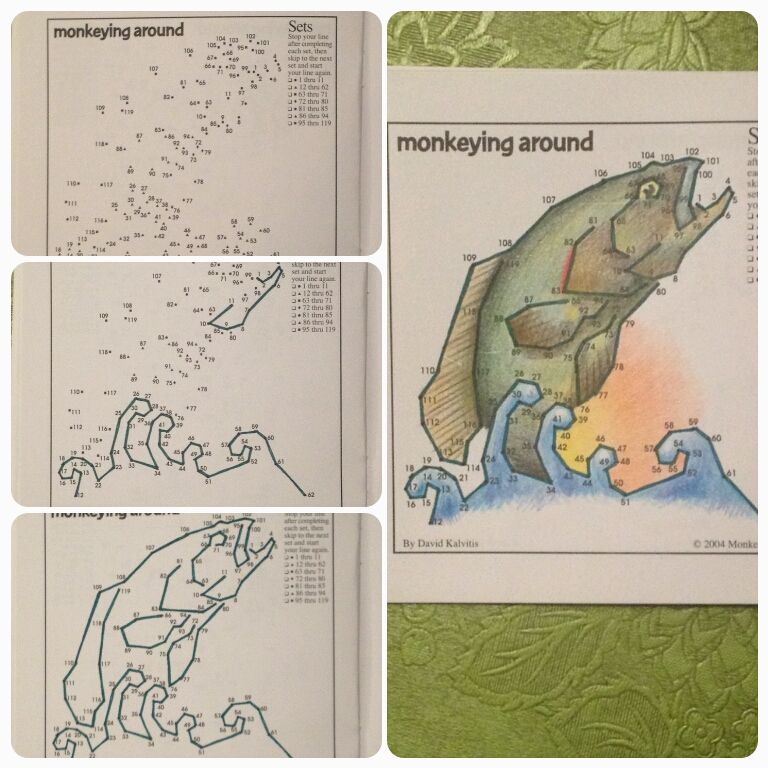
Here is another of David’s colored dot-to-dot puzzles.  This one is from our Greatest Newspaper Dot-to-Dot Book #3.  David loves to fish.  🙂

Coloring in the Dots

Coloring in the Dots

There is a new craze under way. Grown-ups are now coloring in colouring books, like they did when they were kids. They are finding it relaxing and fun. I loved coloring with my daughter when she was younger. I personally find that I have the ability to blend my colors better now than I did when I was a kid and 20+. 

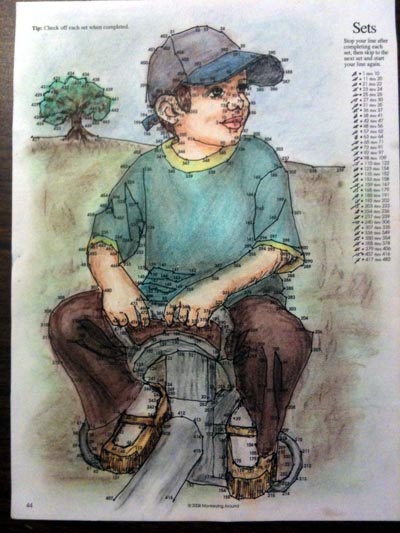
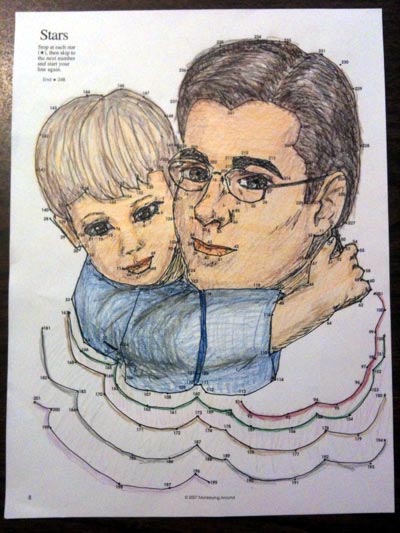
Adults coloring is not news to Monkeying Around. We discovered that once solved, our dot-to-dot books magically turn into colouring books. Years ago we had a customer return three of our puzzles, all colored in. Many of our customers have told me they color the puzzles after solving them, or they let their kids and grand-kids color the final images. With National Coloring Book Day coming we decided to use our dot-to-dot puzzles to exercise our coloring skills.

Customer colored Greatest Dot-to-Dot puzzle

  Customer colored Greatest Dot-to-Dot puzzleCustomer colored Greatest Dot-to-Dot puzzle


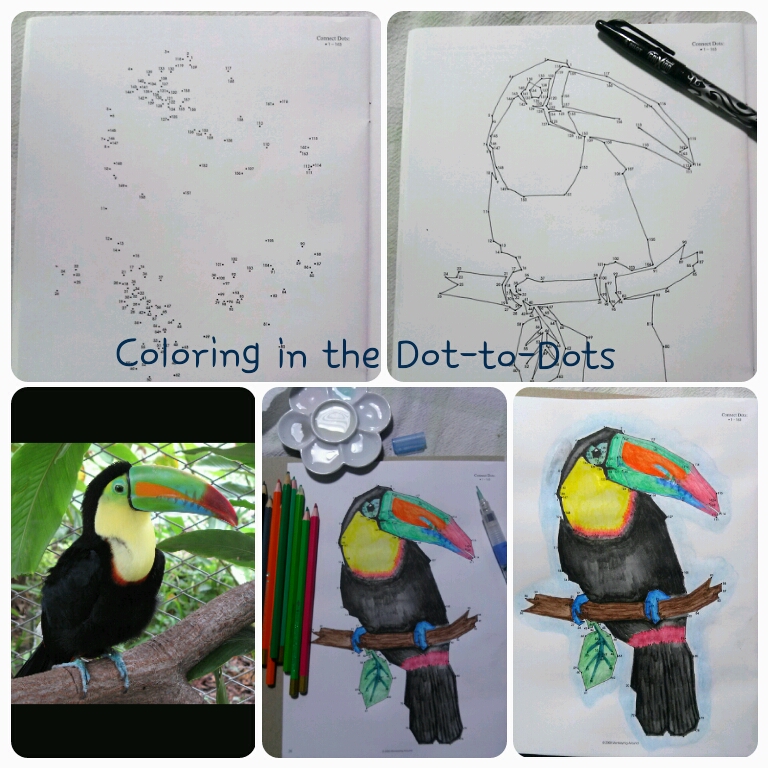
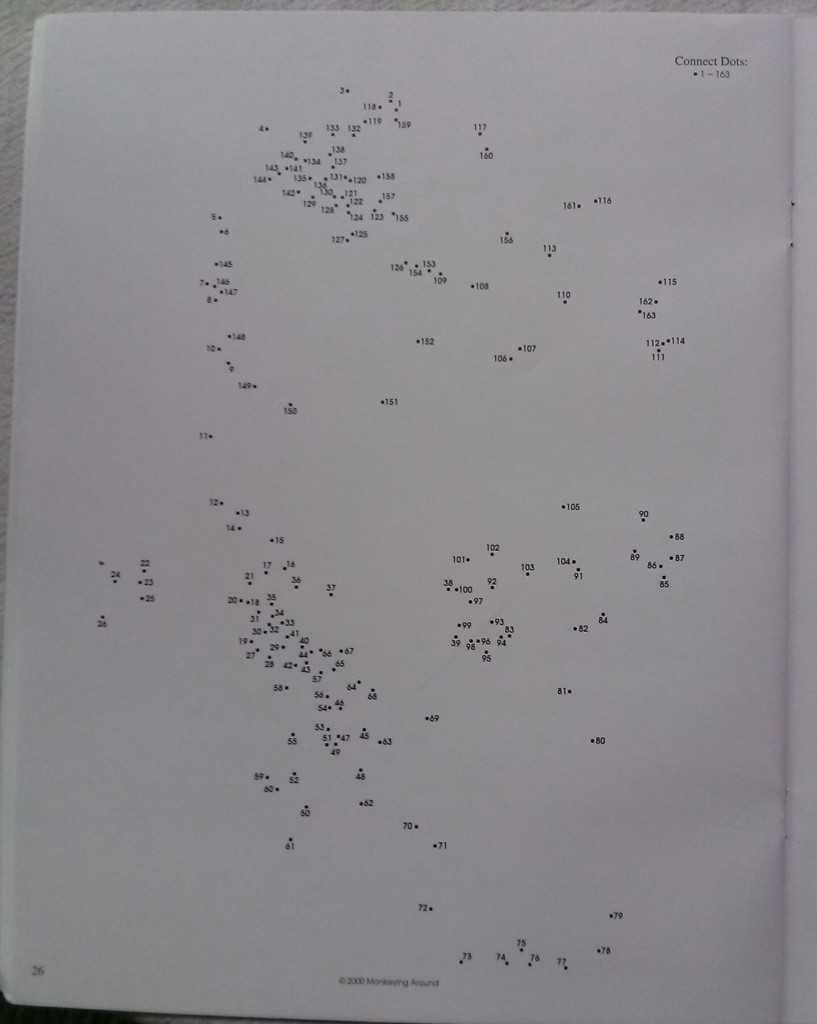
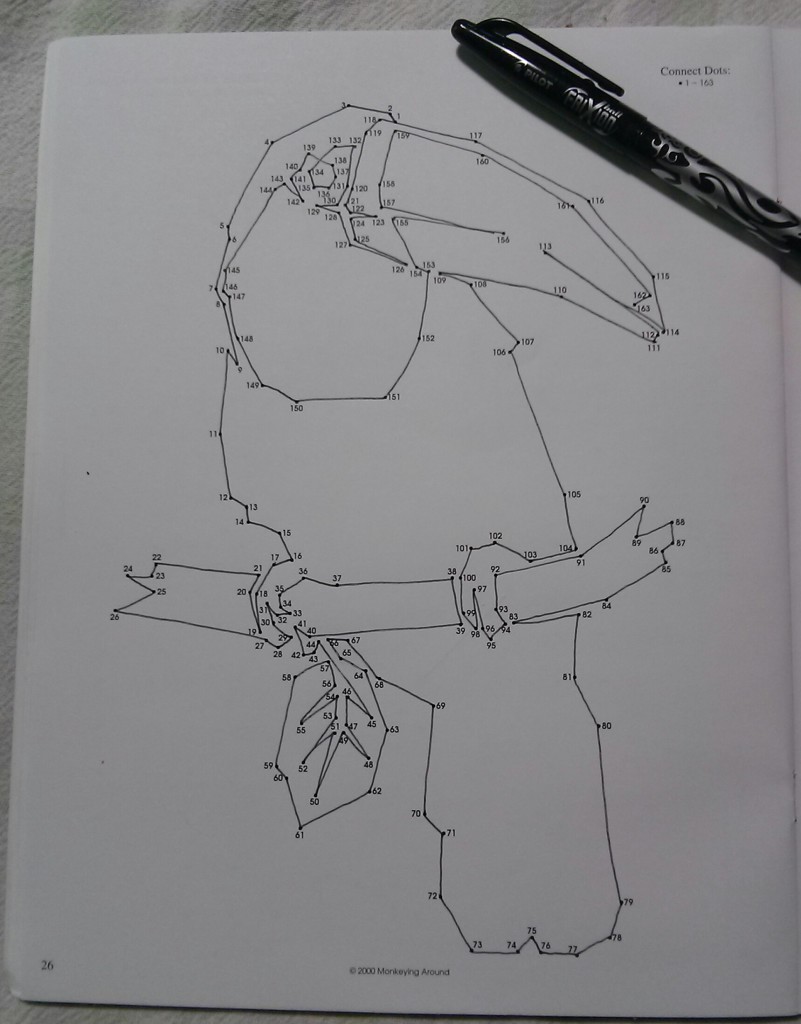
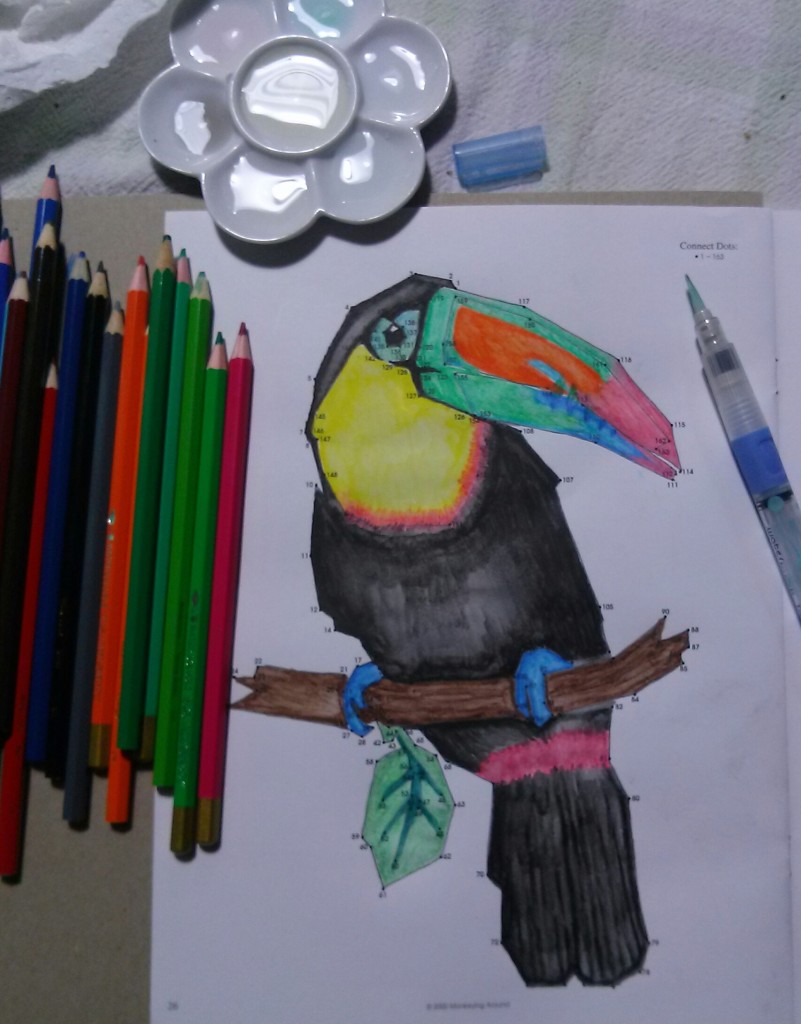
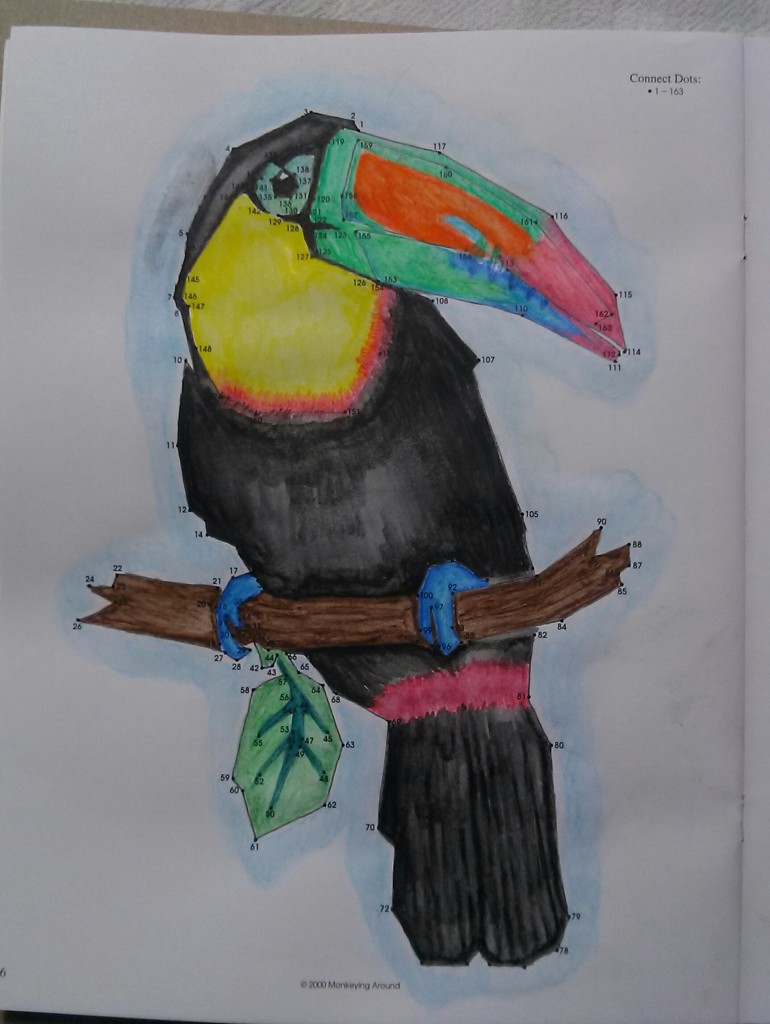
The puzzle I chose to color was from our Original Greatest Dot-to-Dot Book #1. I thought I would choose a puzzle that had less detail than our Super Challenge puzzles. It is amazing what shading can do to an outline image. I use a Pilot Frixion Pen to solve all of the puzzles David makes. It gives a nice thin crisp line AND if I make a mistake, I can erase it.  🙂 Did you notice it was a toucan before I solved it? One of the unique qualities about David’s puzzles is that final image is hard to see before the puzzle is started.

CAM02512~2CAM02515~2


Screenshot_2015-07-30-16-16-13


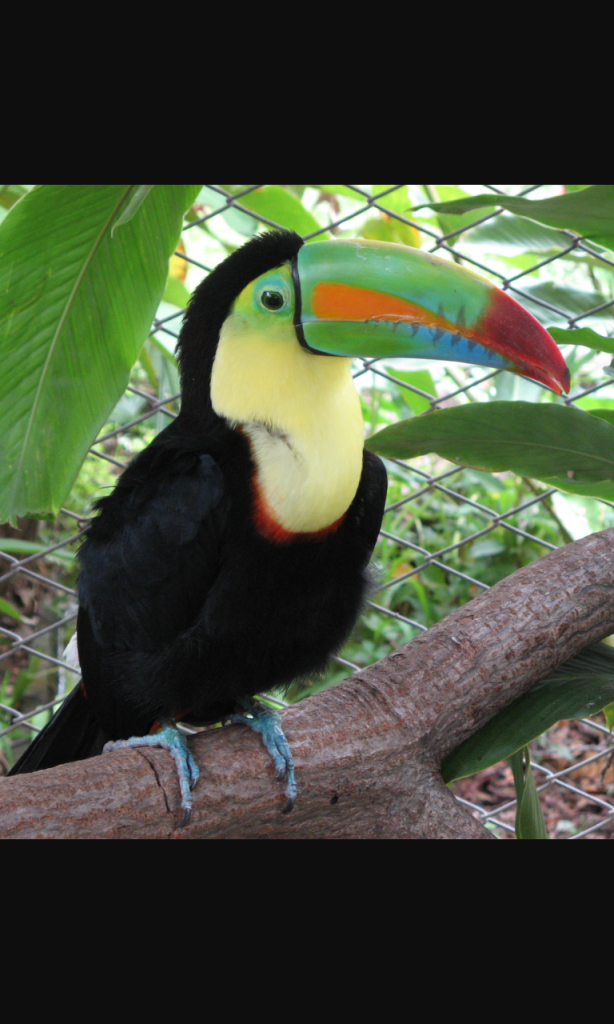
I went online with my smart phone to find a reference picture. Since David Kalvitis uses his own photos or draws the images using many different references I had no way of finding an exact photo. Instead I found a toucan photo that was in a similar position with the colors I liked. 


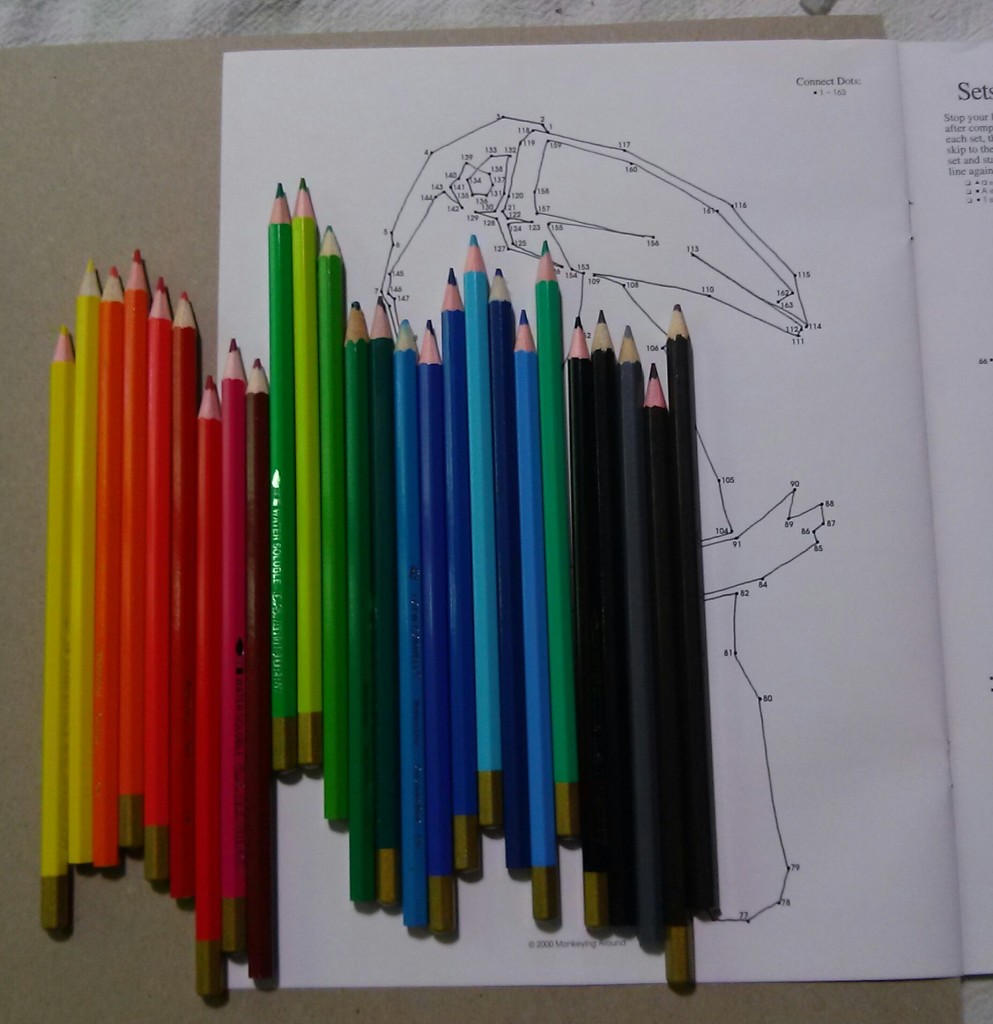
I grabbed my watercolor dish, a water-pen and a large piece of cardboard, then selected colors from my water color pencils. By placing the cardboard under the page I kept the water from soaking into the rest of the book.  And I didn’t go crazy trying to find a piece of cardboard, I just went to my recycling bin and got a cereal box.CAM02516~2CAM02517~2


Now, I’m a bookkeeper, a “left-brain” as some would say. My final colored image of the toucan is nowhere near the coloring quality of the customer’s pages (above) that were mailed to us. I just felt the need to say this, in case there were others out there that felt they couldn’t “color” as well as a professional or art hobbyist. It’s not about the perfection, it’s about having fun and relaxing.

CAM02518~2


So, go and get one of our sample puzzles, solve it and color away. You can also check out the National Coloring Book Day website. They have several Dover Publication colouring pages for free.  🙂 


Happy Dot-to-Dotting and Coloring!


Numbers Puzzle Instructions

Numbers Puzzle Instructions

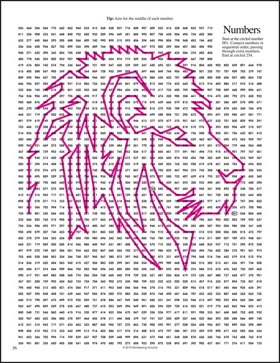
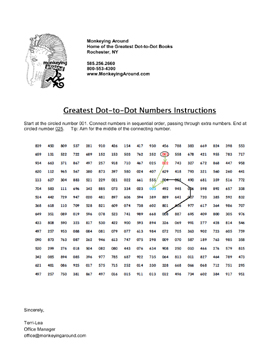
In 2009 David Kalvitis invented the Numbers puzzle for his 3rd Super Challenge Book, #7. The Numbers puzzle is definitely NOT your Grandfather’s Dot-to-Dot! This puzzle type still leaves the ability for David to create a detailed image when solved.

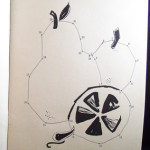
We have designed a smaller simple puzzle to help with the instructions if you are needing assistance in solving it. The puzzle has been started with thin green and black lines to help you get started.  When you are done your lines should make a fruit.  After you get the hang of it, try one of our FREE SAMPLE puzzles.

Click the image below to download the .pdf instruction page.

Instructions:  Start at the circled number 001. Connect numbers in sequential order, passing through extra numbers. End at circled number ____.

For more information on our Numbers puzzles including which books they are in visit our Numbers Puzzle Page.

2015 DIY Father’s Day Card

2015 DIY Father’s Day Card

2015_Fathers_DotToDot_01

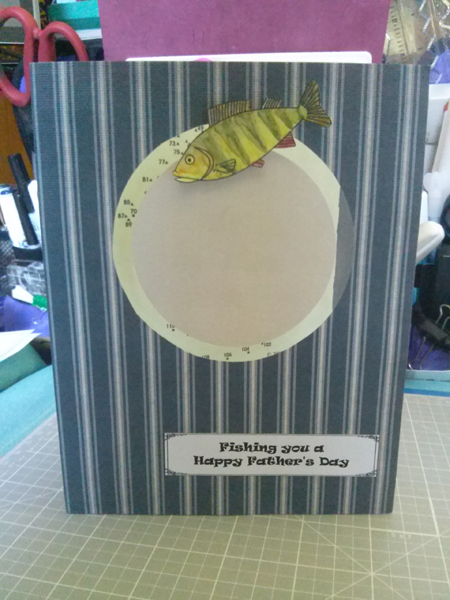
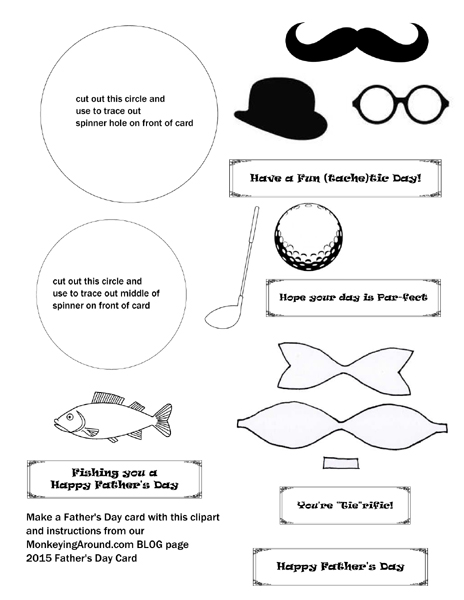
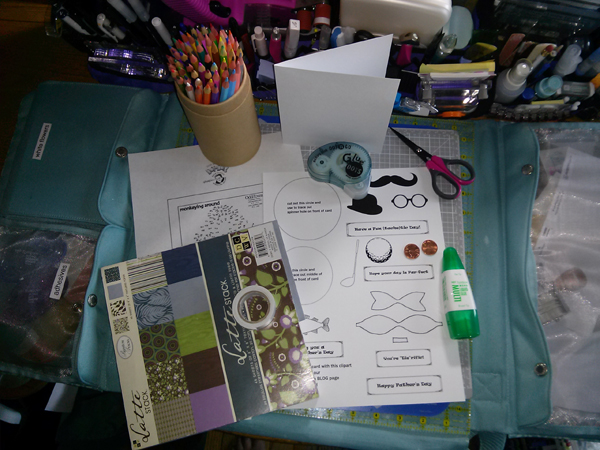
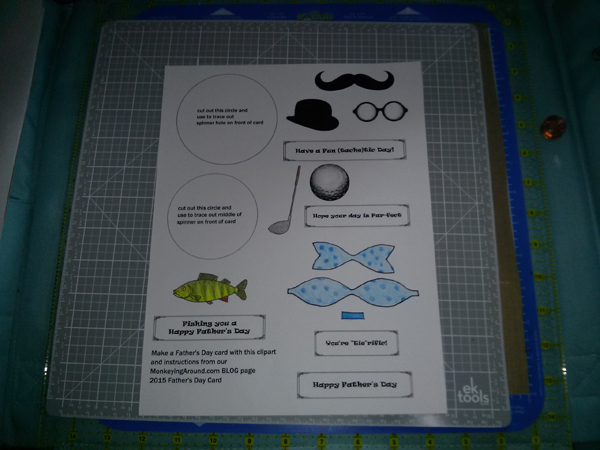
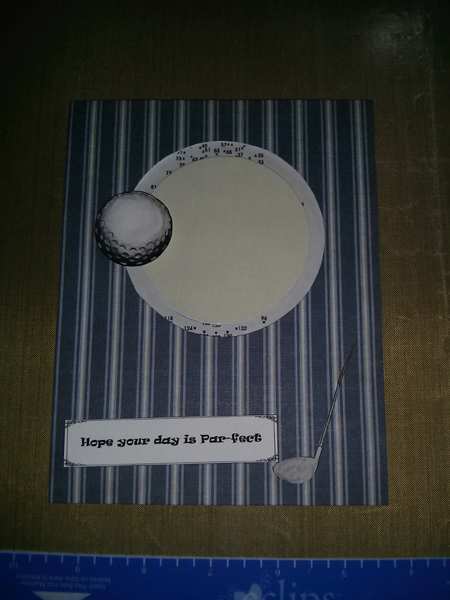
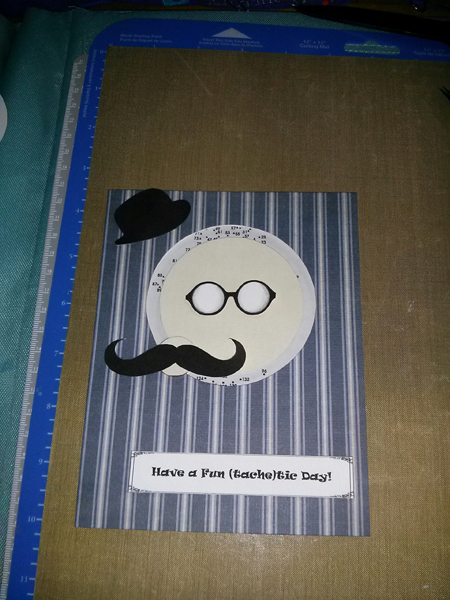
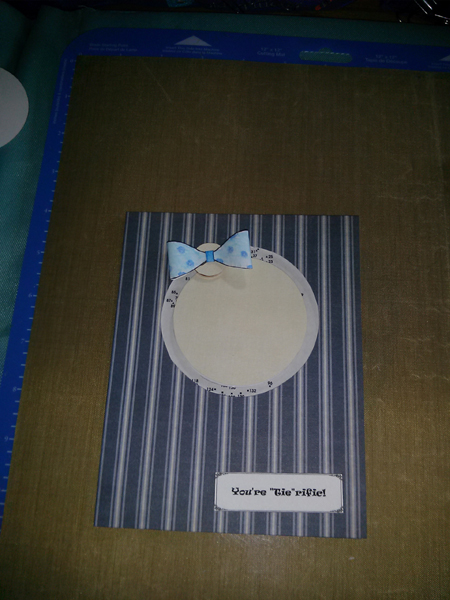
Here is a new Father’s Day I card made using our Father’s Day Sample Dot-to-Dot on the inside. This spinner card is fairly simple and uses every day craft items to create. I am grateful to Lawn Fawns Instructions for the card inspiration. Print-2015_fathers-day-cardYou can make your own using the artwork file on the right and the free puzzle as a extra card bonus for your Father.  I added a few choices so you may customize the card according to the recipients own interests.

Supplies I used:

  • 1 sheet of patterned cardstock for the card front
  • 1 sheet of lighter cardstock for the back of the spinner center
  • Clip art sheet with images printed on white cardstock
  • 1 8½” x 11″ sheet of heavy white cardstock for base
  • Greatest Dot-to-Dot Sample Newspaper Puzzle for Father’s Day
  • Two pennies
  • 4″ x 4″ piece of acetate


2015_Fathers_DotToDot_02


Tools I used:

Paper dimensions:

  • Cut 8½” x 11″ sheet of heavy white cardstock down to 6½” x 10″. Score cardstock in half to make card 5″ x 6½”.
  • Cut colored cardstock for front of card (top half) 5” x 6½”.


Color the fish and the bow tie.  I colored darker blue dots on the tie I made.  Also, I decided against using the top bow, it looked to girly after being assembled.

 2015_Fathers_DotToDot_03


This slideshow requires JavaScript.

A look at the other alternatives to the card I chose to make.  I used a glue dot to attach the fish.

Don’t forget to cut out the puzzle and glue on the inside of the card.

2015_Fathers_DotToDot_142015_Fathers_DotToDot_152015_Fathers_DotToDot_18


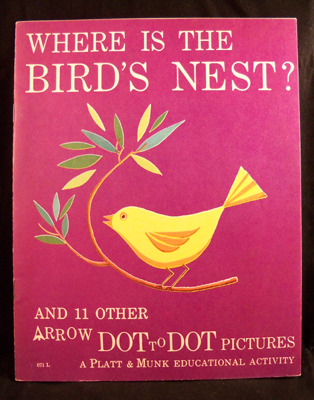
Vintage Dot-to-Dot Collection – Where is the bird’s nest? and 11 other arrow dot to dot pictures.

Vintage Dot-to-Dot Collection – Where is the bird’s nest? and 11 other arrow dot to dot pictures.

Arrow_Dot_Bird_01Arrow_Dot_Bird_07


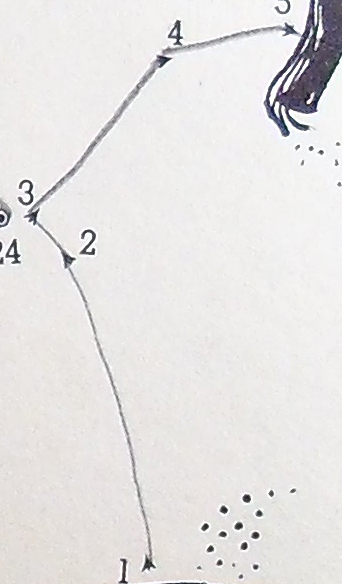
In 1959, Platt & Munk published a set of 12 Dot-to-Dot books. This was not an ordinary dot-to-dot. Instead of a “dot” the author, David B. Dreiman, used an arrow. There is still a number with the arrow, but instead of looking around for the next number/dot you just follow the way the arrow points. “The new technique helps teach a child to count since the arrows point to the next number”. It may make it easier for younger children to learn their numbers if they are sure they have the correct number in sequence.

The only book of the set of 12 that we currently have is “Where is the Bird’s Nest? and 11 other Arrow Dot-to-Dot Pictures”. According to the Catalog of Copyright Entries, Third Series, 1959, Jul-Dec, this series was published on July 29, 1959. Mr. Dreiman said that the dot-to-dots “provide absorbing entertainment for the child and are educational as well.”

Arrow_Dot_Bird_03As with many of the older dot-to-dot puzzles, you can see the majority of the final image before you start solving the puzzle.  Did you know that once a dot-to-dot puzzle is connected to its final image it basically turns into a coloring book outline? So the dot-to-dot books can serve as two functions, puzzle solving and coloring.


Arrows Puzzle Instructions

Arrows Puzzle Instructions

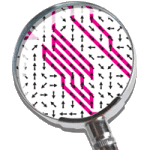
Sample of Greatest Dot-to-Dot Arrows Puzzle


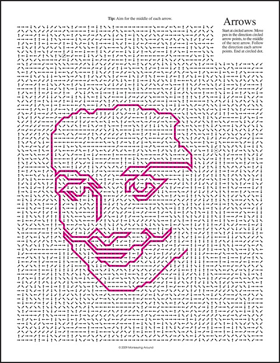
In 2007 David Kalvitis invented the Arrows puzzle for his 1st Super Challenge Book, #5. The Arrows puzzle is definitely NOT your Grandfather’s Dot-to-Dot! This puzzle type still leaves the ability for David to create a detailed image when solved.

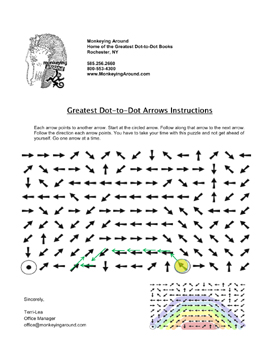
We have designed a smaller simple puzzle to help with the instructions if you are needing assistance in solving it. The puzzle has been started with thin green lines to help you get started.  When you are done your lines should make a rainbow image.

Click the image below to download the .pdf instruction page.

Instructions: Each arrow points to another arrow. Start at the circled arrow. Follow along that arrow to the next arrow. Follow the direction each arrow points. You have to take your time with this puzzle and not get ahead of yourself. Go one arrow at a time.


For more information on our Arrows puzzles including which books they are in visit our Arrows Puzzle Page.