
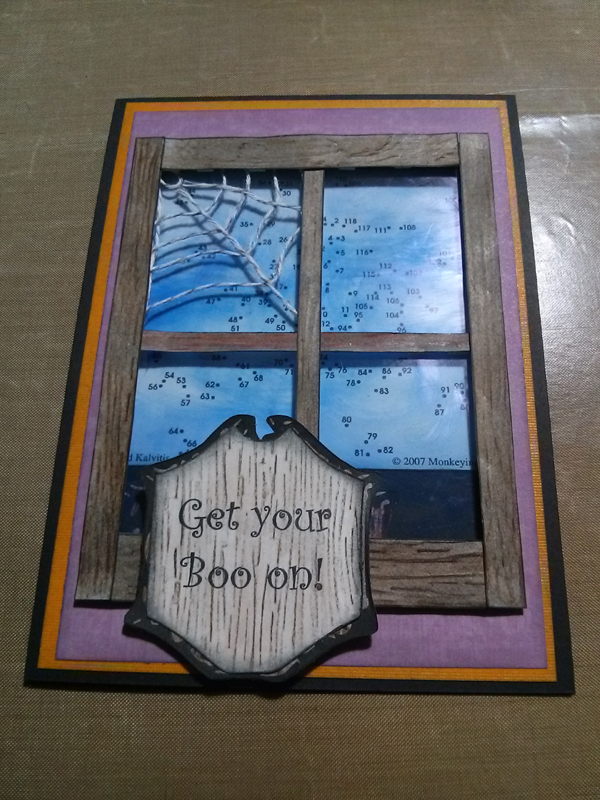
Here is a new 5″ x 7″ Halloween I card made using a Sample Dot-to-Dot on the inside. This window card is fairly simple and uses every day craft items to create. 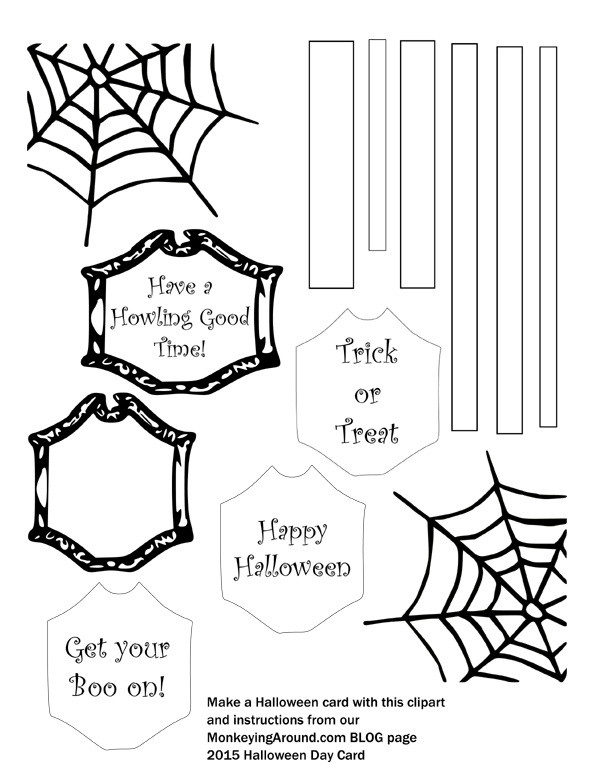 You can make your own using the artwork file on the right and the free puzzle as a extra card bonus. I added a few choice sentiments so you may customize the card according to your own interests. The colors of the card base and front window matting can be changed to your favorite colors for Halloween.
Supplies I used:
- 1 sheet of purple patterned paper for the card front
- 1 sheet of orange cardstock for the card front
- Clip art sheet with images printed on white cardstock
- 1 sheet of heavy black cardstock for base
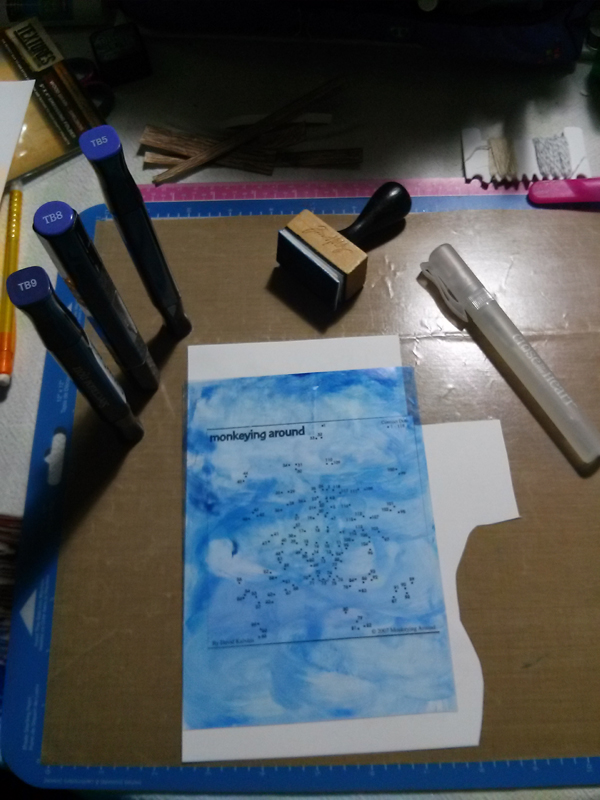
- Greatest Dot-to-Dot Sample Newspaper Puzzle for Halloween
- 4½” x 6½” piece of acetate
- Grey bakers twine
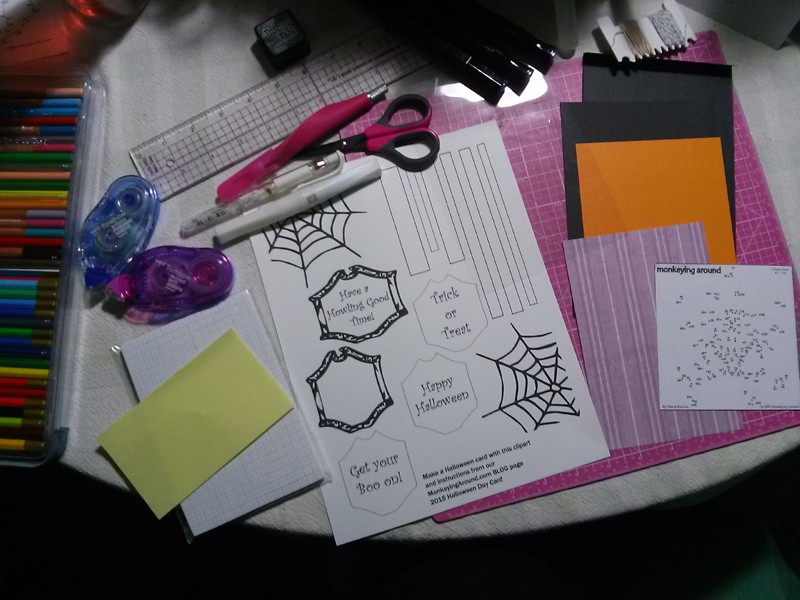 Tools I used:
- Watercolor Pencils
- Waterbrush
- Distress Ink pad
- Alcohol markers
- Isopropyl alcohol
- Piece of Foam Square
- Tree bark embossing folder
- Scissors
- Double-sided Tape
- Glue pen
- Paper Cutter
- Foam Tape
- Pencil
- Silver mica eyeshadow
- White pen
- Cutting mat
- Craft knife
Paper dimensions:
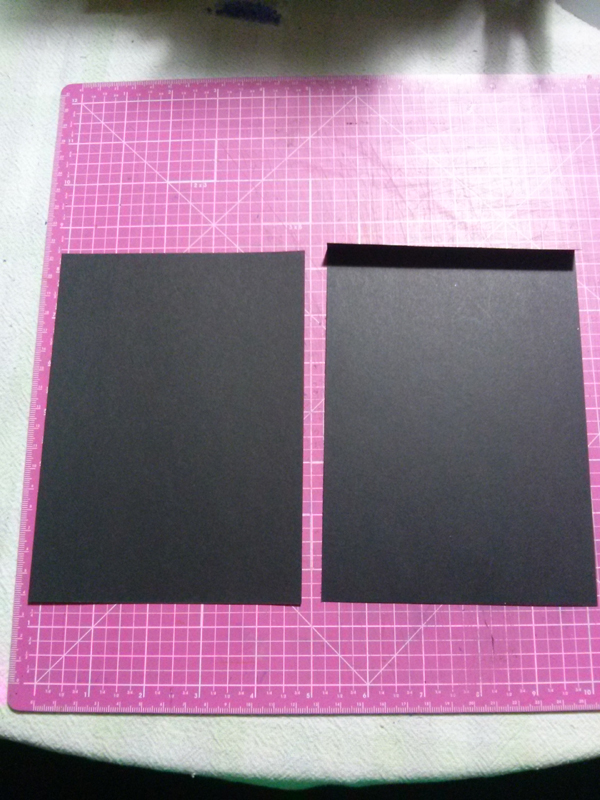
- Cut the heavy black cardstock down to two pieces, 5″ x 7½” (score at ½”) and 5” x 7″. These two pieces of black cardstock will be combined to make the base for the card. Since the card is opening up instead of on the side I needed a 5″ x 14″ base. I don’t have cardstock that is 14″ long, so piecing the two pieces is the best way for me to make this card.
- Cut the orange cardstock for a mat 4¾” x 6¾”.
- Cut the purple patterned paper for a mat 4½” x 6½”.
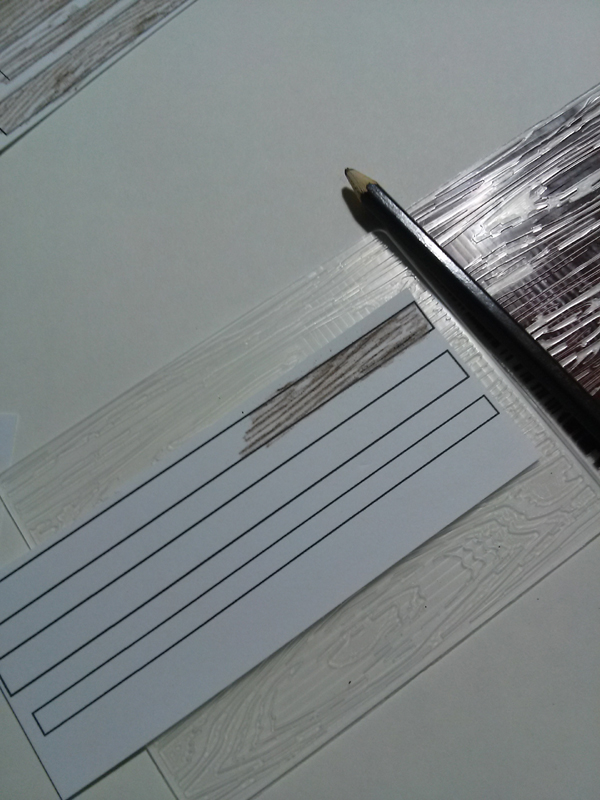
Color the window frame pieces. I placed the pieces(before cutting) on the embossing folder and then colored them. It gave the look of wood texture without the embossing. When I was finished cutting the pieces out I used the distress ink on the edges. The window pieces are in order from left to right ( Top, middle cross frame, bottom, left, right, middle cross frame).
The base card pieces should look like this. I did not connect them until later.
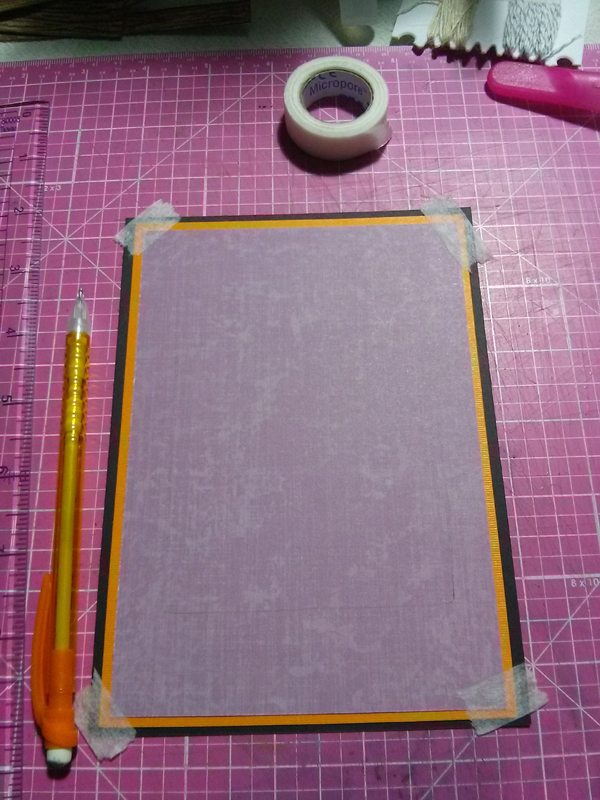
Place the 5″ x 7″ piece of cardstock down. Center the orange matting on top of the black. Center the purple on top of the orange. Use repositionable tape to hold the pieces together on the cutting mat. Do not glue anything yet. Set the window frame on top of the purple cardstock where you want it placed. Again, use repositionable tape to hold those pieces to the purple cardstock. Trace inside the window frame on the purple cardstock. This will show you where to cut out the window.
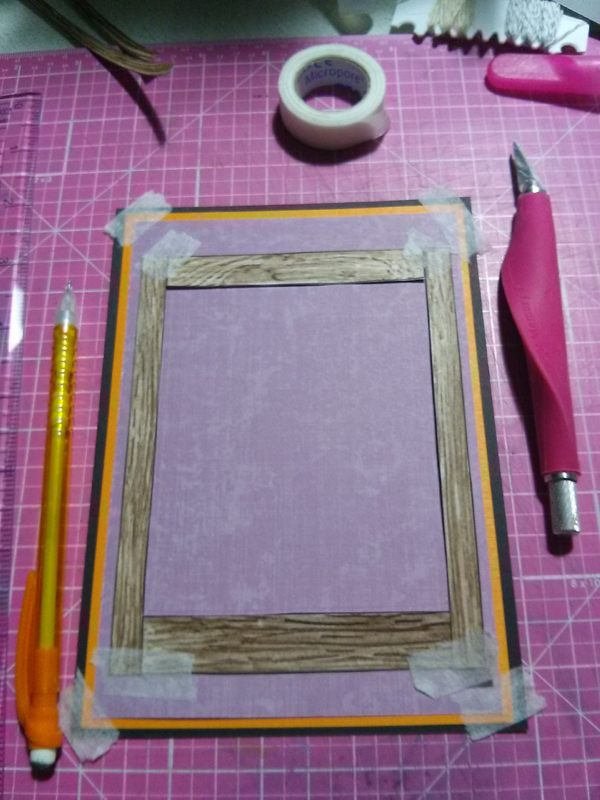
Remove the window frame to show the traced line. Using a craft knife and a straight edge, cut the window frame out, making it about 1/8″ wider than the tracing. The window frame should be able to cover the hole.
The front of the card should look like the image below. Still, do not attach the pieces yet.
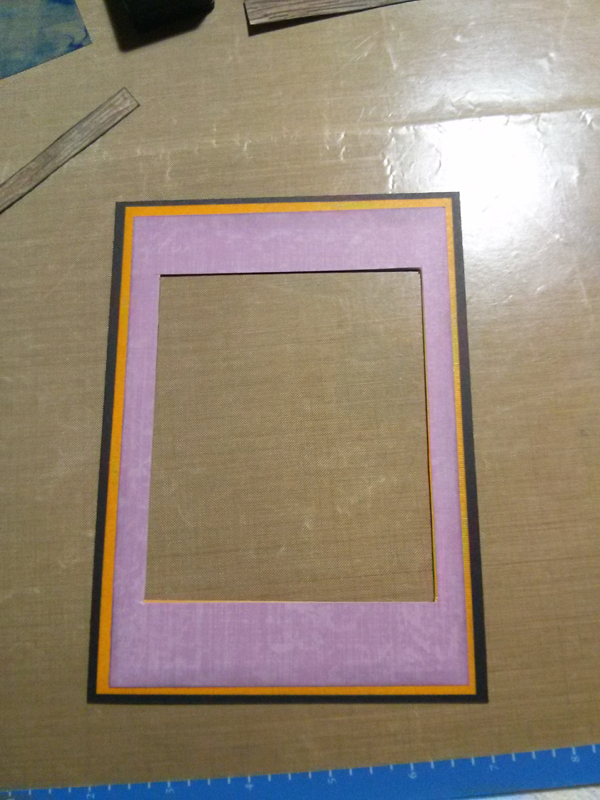
Take the acetate sheet and place it on a no stick craft mat. Using the alcohol markers color the back of the acetate, putting the lightest blue at the bottom and the darkest at the top. Take a piece of foam sheet, spritz it with alcohol and swirl the dark blues together until you are happy with the result. This will be your “night” sky through the window. You can check it by placing it on top of a white sheet of paper. Place the black cardstock that has the window cut out down first. Attach the blue sky acetate to the top of it. Next attach the orange cardstock, making sure to line up the window openings. Last, attach the purple patterned paper, again, lining up the window openings.
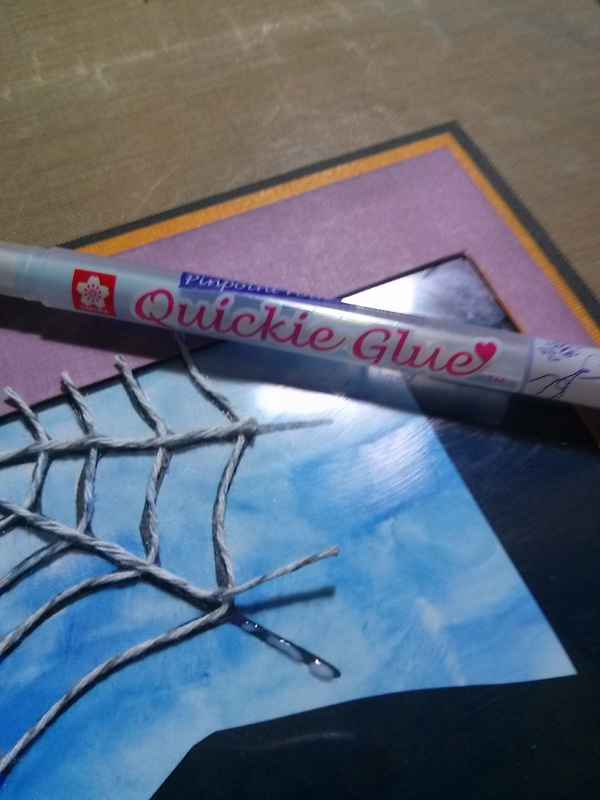
To make the web, cut out the image of one of the webs from the pdf print out. Place it under the acetate, lining it up where you want to make the webbing. Using the glue pen and the grey twine, start gluing pieces of twine to the top of the card. The pdf image is your guide to making the web.
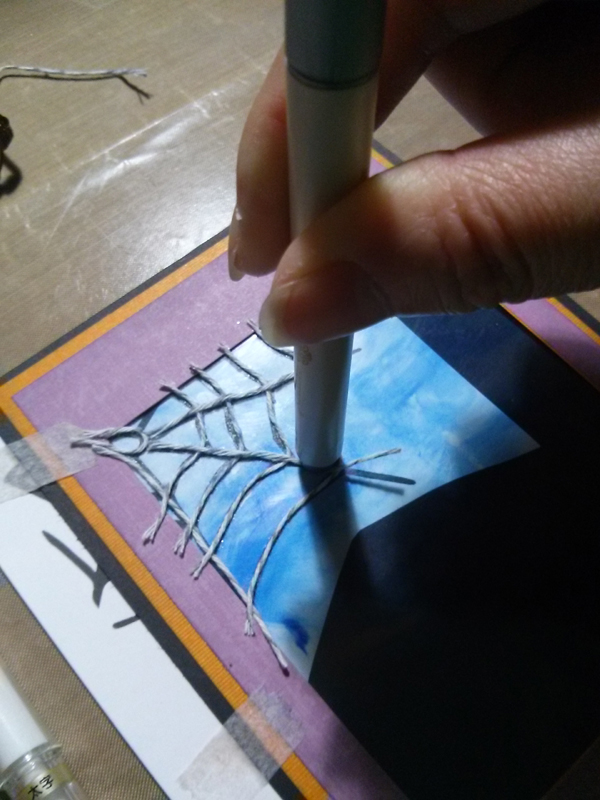
I use a pen cap to hold the web down until the glue started to hold the twine. Trim off any extra twine to just outside the window frame.
Line up the window frames on the front of the card. One at a time put popup foam squares on the back of each frame and stick them back down to the card. Popping up the frame will give the card dimension and make the web set between the frame and the window acetate.
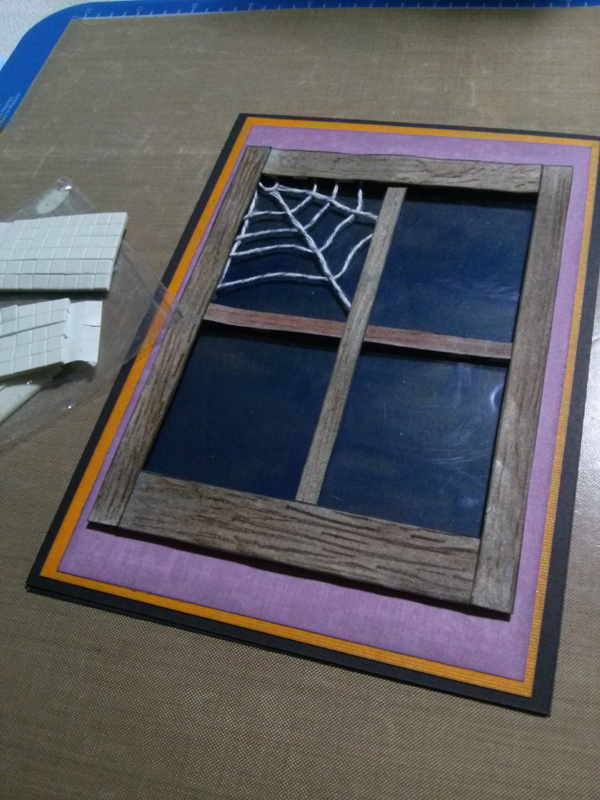
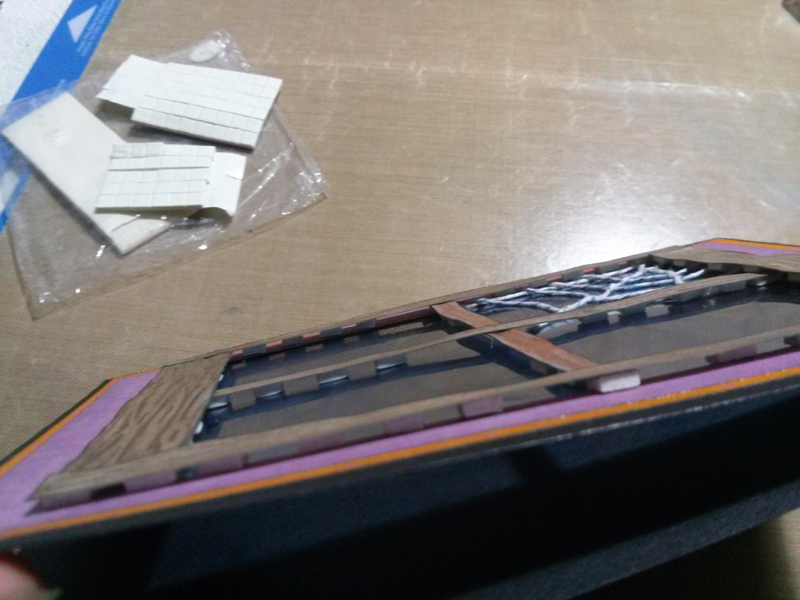
Your card should look like this from the side.
Glue the back of the card to the front by plainge the ½” scored piece at the inside top of the card and adhere securely. Place the puzzle on the inside of the card and decorate with left over images from print out.
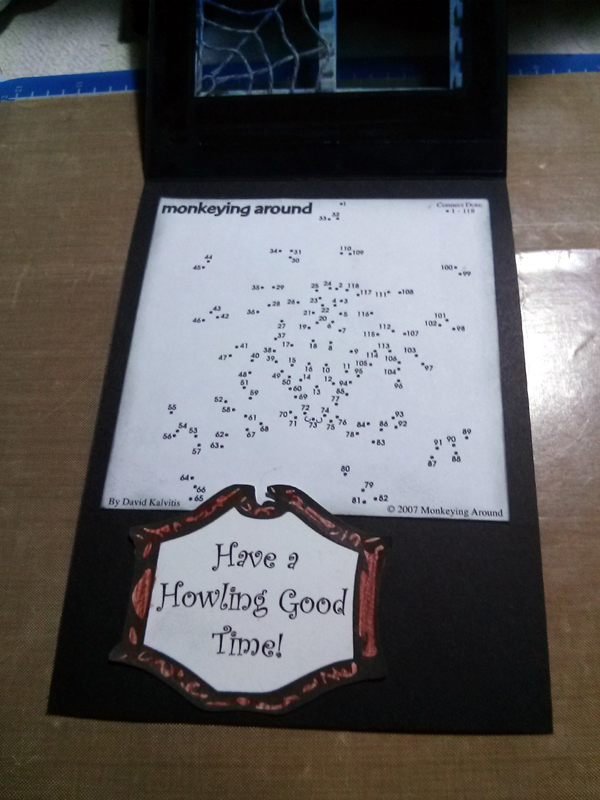
My card looks like this. What does yours look like? Send a pic to office at monkeyingaround · com and share.