Halloween Card

Halloween Card

2013 Halloween Greeting CardHalloween-card_web

1.  Start with the Free Mini Halloween Puzzle from our Blog Post.  The puzzle size is 4½ x 4½ so I made the card 6½ x 5 ( a 10 x 6½ piece of cardstock folded in half).  Although I custom make my envelopes this card will fit in a A7 envelope.   

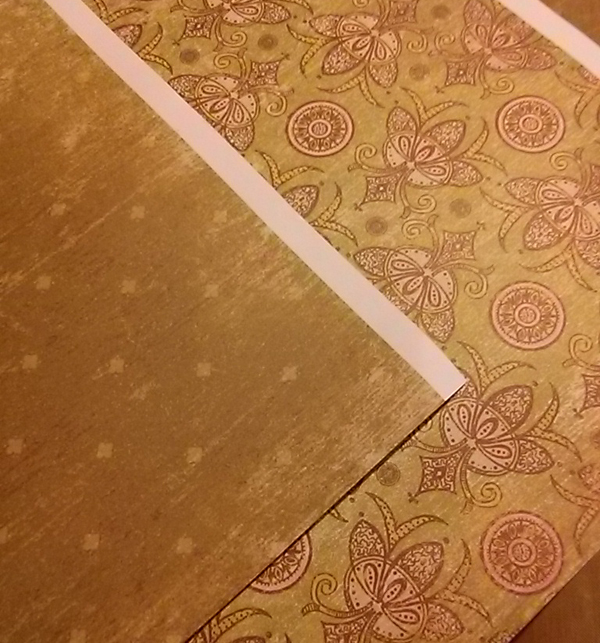
2.  I used two sheets of specialty paper that I never thought I would use for anything.  They seemed to work great for a Halloween themed card.  I glued the dotted paper to the front of the cardstock and trimmed off the excess. Paper used I used the circle/flower patterned paper on the inside and trimmed that to fit as well.
Halloween-card

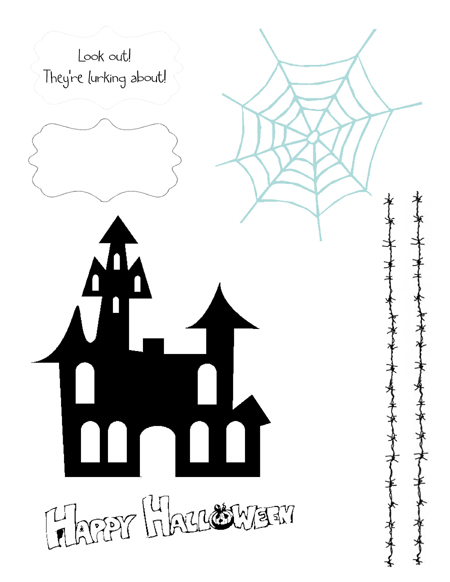
Downloadable Halloween Card Images


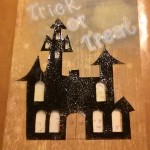
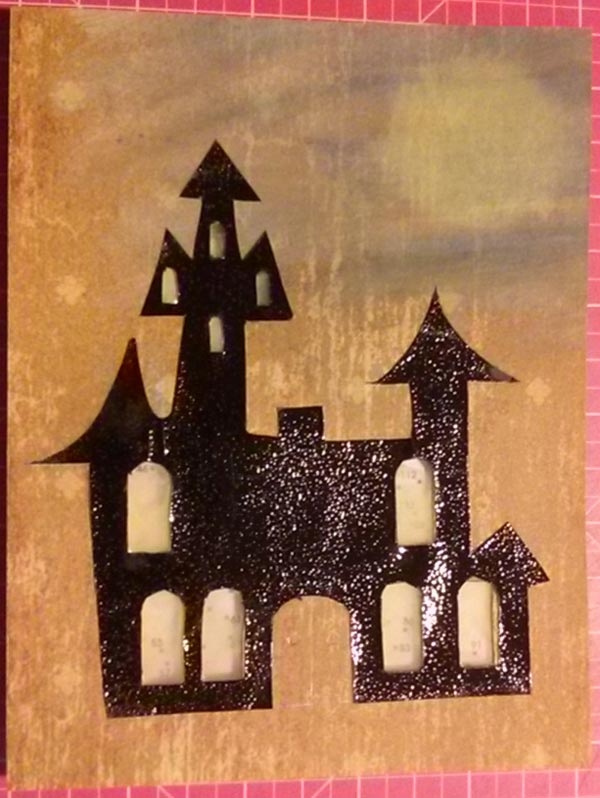
3.  To the left is a sheet of images that I used or almost used in the making of the card.  Feel free to download it and use any images you would like.  For the front of the card I chose the Haunted House image.  I cut it out from the sheet, trimmed the outside of the house as well as cut out all of the windows.  I placed the house where i wanted to be on the cover and traced the inside of each window on the cardstock underneath.

After opening up the card flat, I removed the house and used a craft blade to cut out each window from the cardstock.  I glued the house to the front of the card being careful to line up the windows.Halloween_Card_02Then a piece of clear acetate was placed on the inside of the card to back the open windows, giving the appearance of windows. 
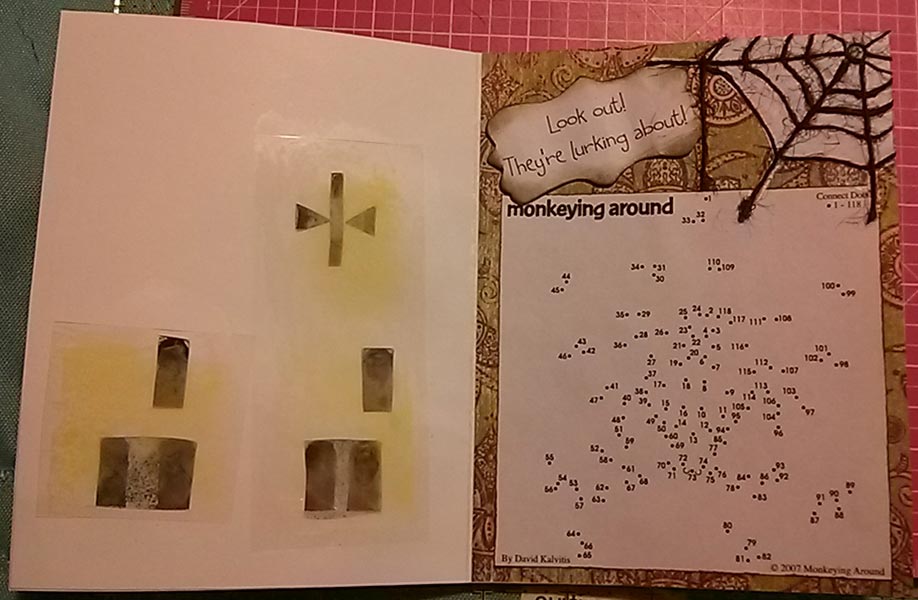
4.  On the inside of the card I glued the puzzle.  I cut out the label from the image sheet and attached it to the card using foam squares.  
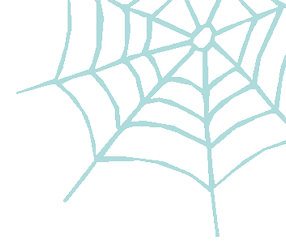
Halloween_Card_045.  My favorite part:  The spider web.  I took the web image from sheet and placed it on the top corner of the card (do not glue), trimming off only half.  I put glue stick adhesive on the center of the web and attached black tulle following the web.  I worked my way out lining the circular lines first.Halloween_Card_05
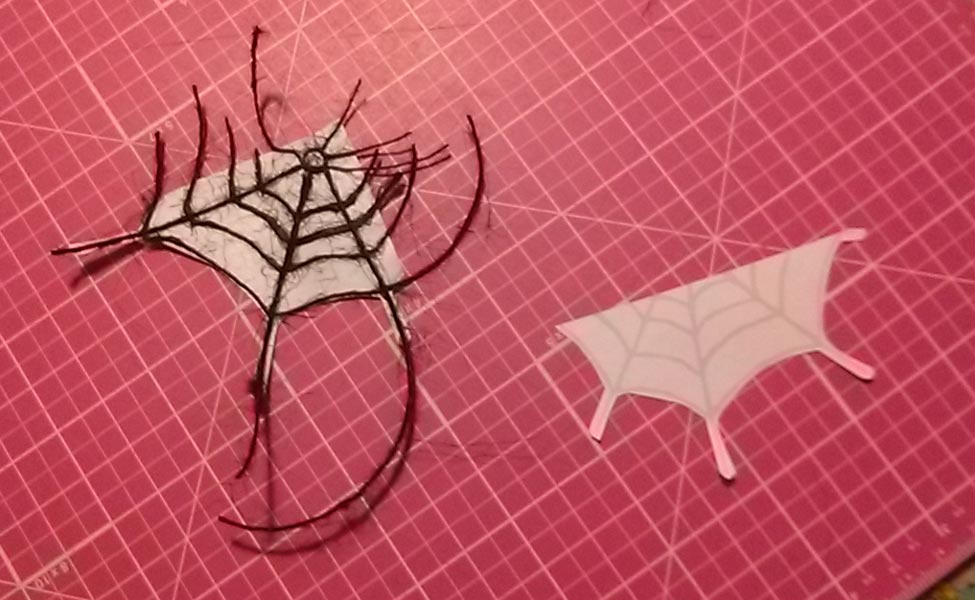
After all of the those were done I glued each web extension rolling the glue stick down the web line, then placing the tulle over the glue.  Rolling the glue stick kept the rest of the tulle from coming off.  I then glued the web to the card.  The last piece of tulle (webbing) was dropped straight down towards the #1 of the puzzle. 
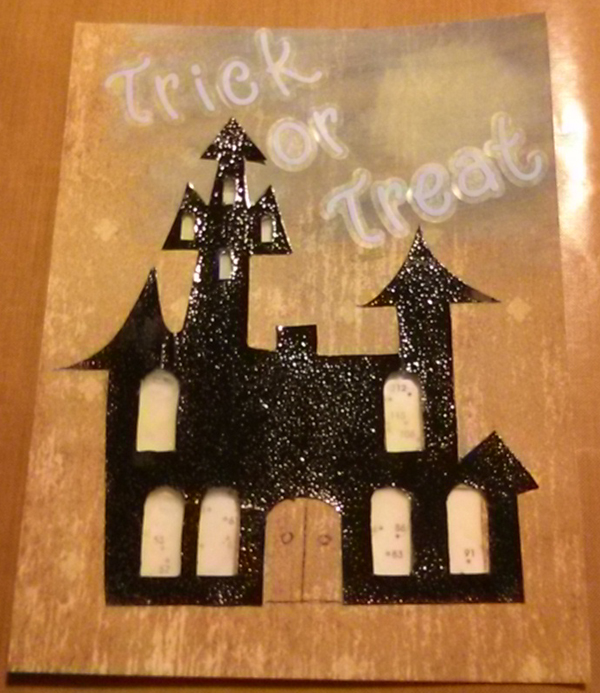
Halloween_Card_036.  I had some old letter stickers so I used them to spell out Trick or Treat on the front.  I figured the puzzle would be a good “treat” for the receiver.  David really liked the windows and they way they showed a few of the dots through them.

I hope you enjoyed this card and get to give a few of your own. 

Things I might do differently:  I definitely would use a full sheet of acetate to cover the full inside of the card instead of the two smaller pieces I had.  I also might move the puzzle up an inch for a hand written sentiment.  As it is right now there is no room.  An A7 envelope is 5¼ x 7¼ so I could have made the card 5 x 7 giving me more room.

2013 Halloween Dot-to-Dot Puzzles

2013 Halloween Dot-to-Dot Puzzles

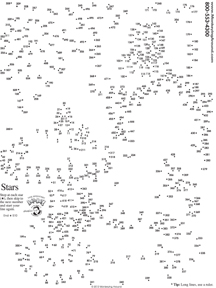
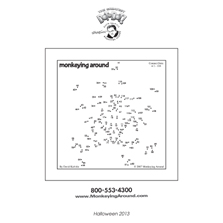
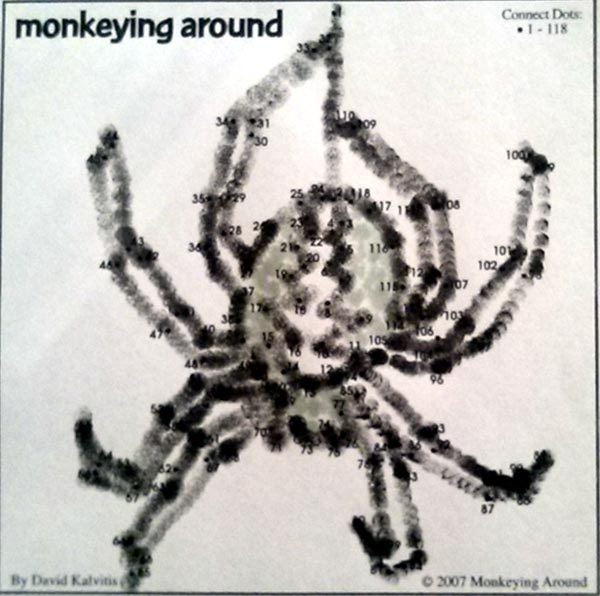
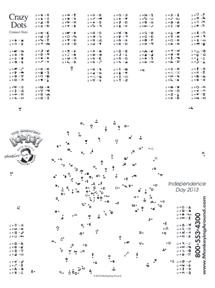
Halloween-card_webPlease feel free to download the following Halloween Dot-to-Dot Puzzles for your parties, classroom or just if you feel like doing a puzzle.

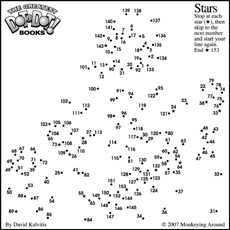
The large puzzle is from our Greatest Dot-to-Dot Adventure Book.  The mini puzzle is from our Volume 5 Newspaper Book.  Our puzzles are recommended for ages 8-108.

HURRY:

Our “holiday” free sample puzzles will only be available during their specific holiday. Check back for the next holiday freebie dot-to-dot. For our year-round sample puzzles go HERE.

Each image will download a PDF. You will need Acrobat reader to view and print these pdf files.

FREE_Halloween_puzzle2a

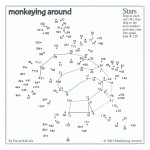
Greatest Dot-to-Dot Newspaper Halloween Puzzle


TIP 1:  Make a second copy of the puzzle and share it in a Holiday Greeting Card.

TIP 2:  Solve the mini Newspaper puzzles using the Q-Tip painting technique.

Halloween Dot-to-Dot Q-Tip Painting Technique


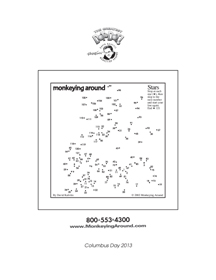
Free 2013 Columbus Day Dot-to-Dot puzzle

Free 2013 Columbus Day Dot-to-Dot puzzle

In celebration of Columbus Day on October 14th, 2013 we are giving away a Greatest Dot-to-Dot Puzzle from our Newspaper Book Vol. 1. Please feel free to download the 2013 Columbus Day Dot-to-Dot Puzzle for your classroom or just if you feel like doing a puzzle. Our puzzles are recommended for ages 8-108.

HURRY:
Our “holiday” free sample puzzles will only be available during their specific holiday. Check back for the next holiday freebie dot-to-dot. For our year-round sample puzzles go here: Free Samples Dot to Dots

The image below will download a PDF. You will need Acrobat reader to view and print these pdf files.


Greatest Dot-to-Dot FREE Columbus Day Newspaper puzzle sample

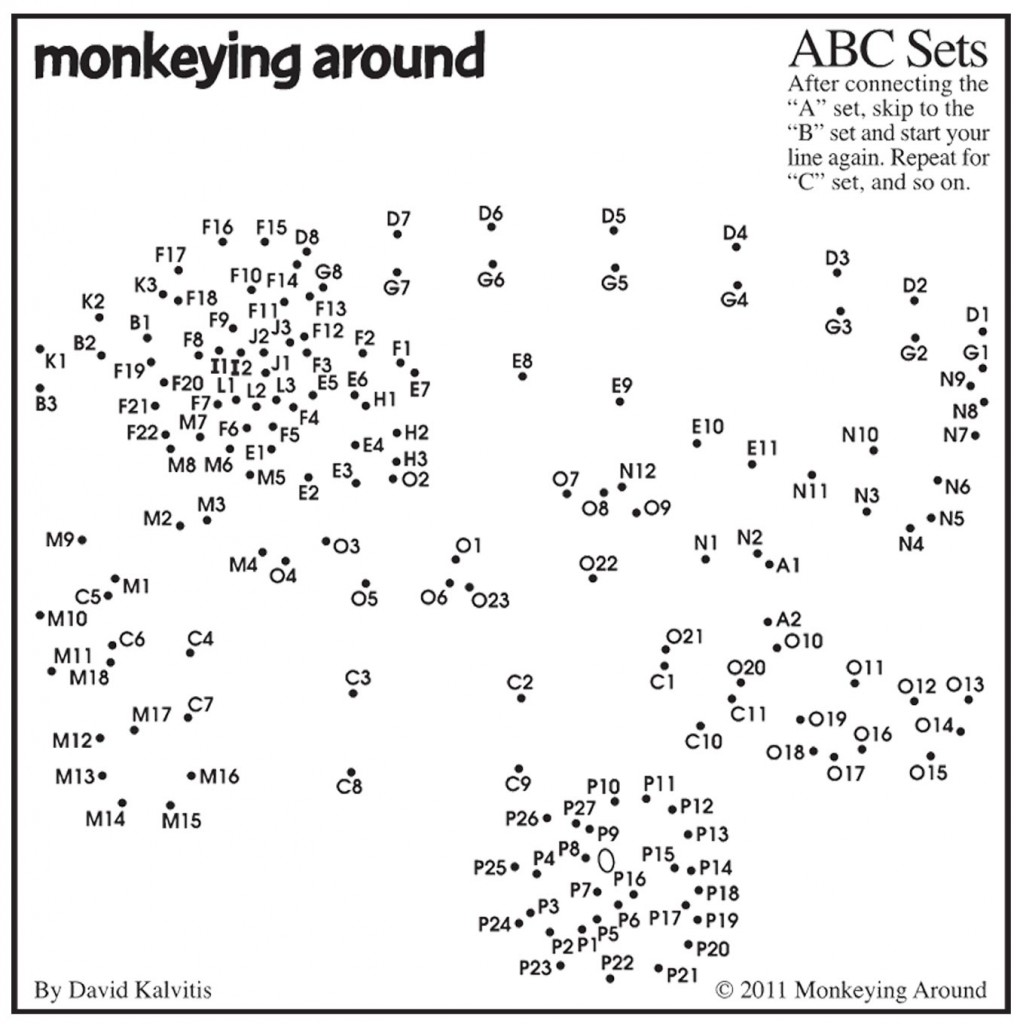
ABC Sets Instructions

ABC Sets Instructions

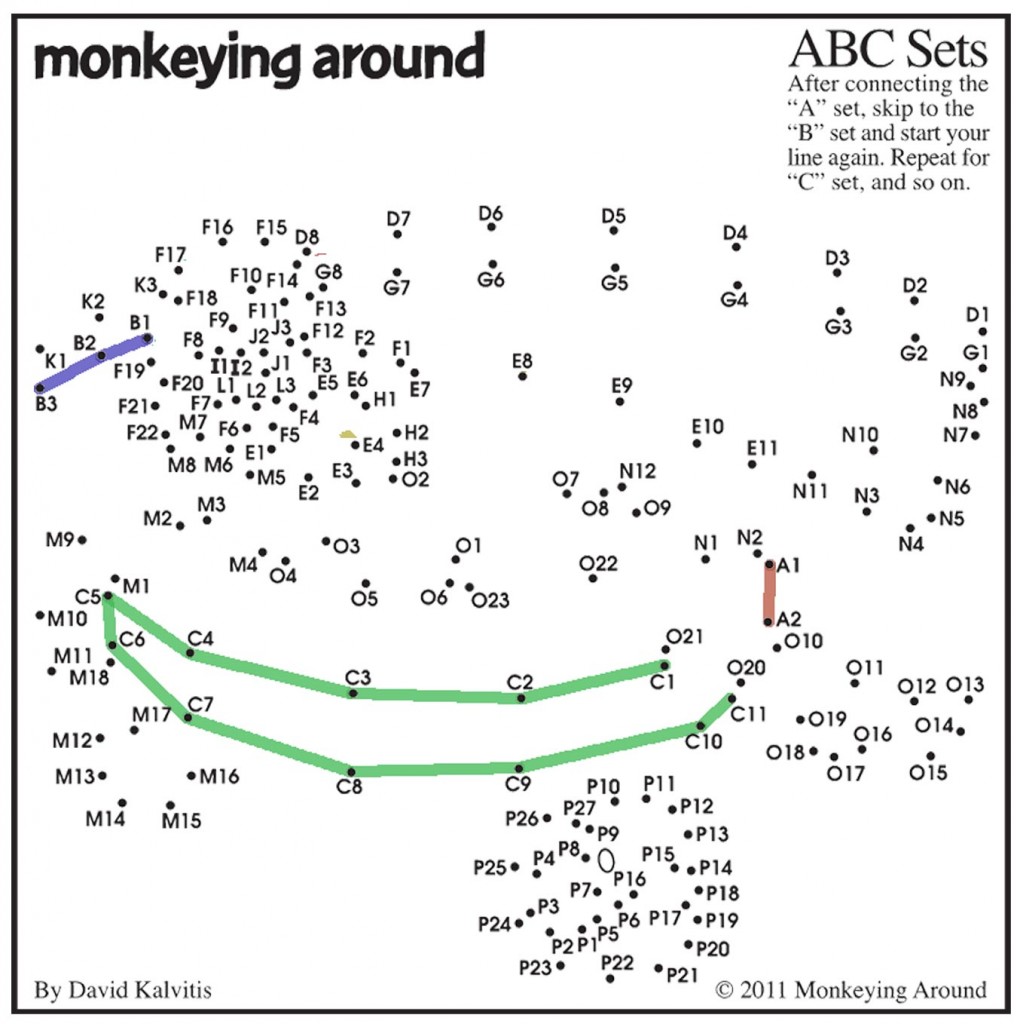
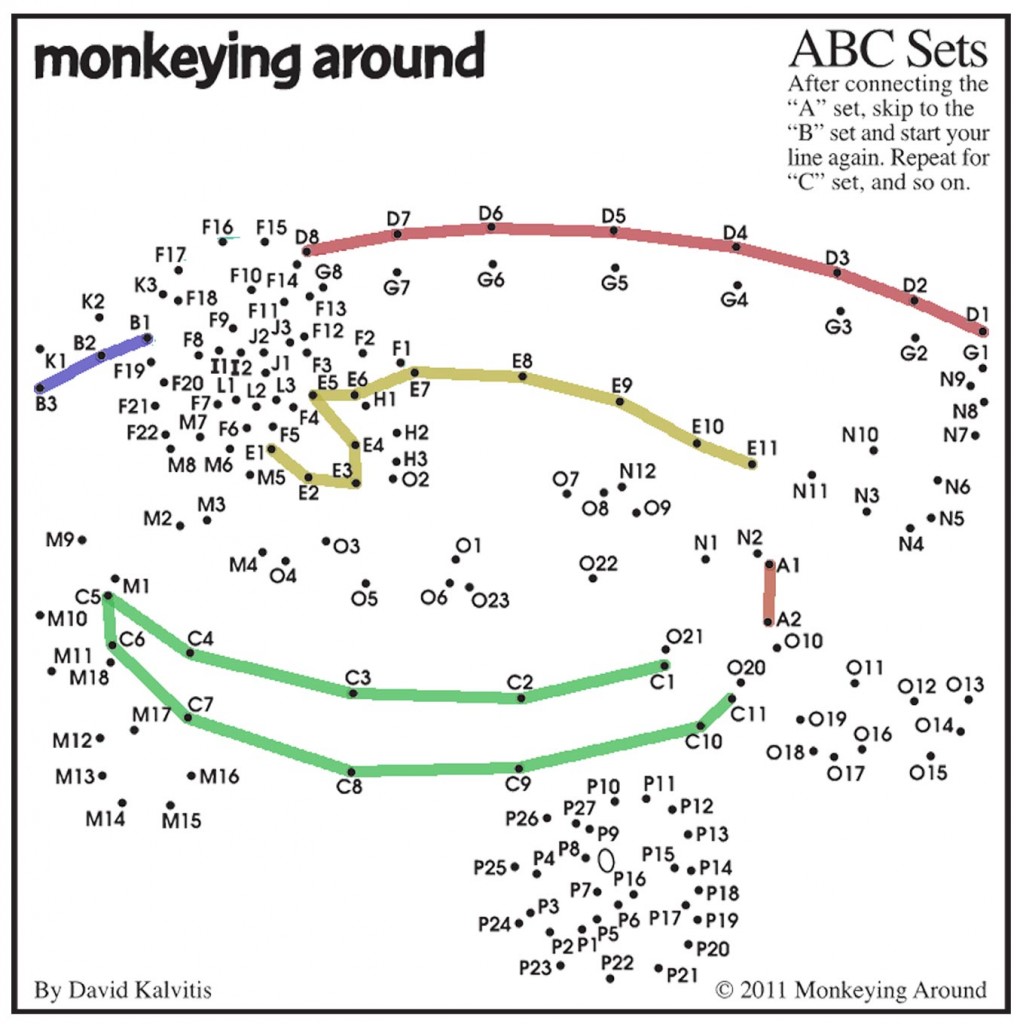
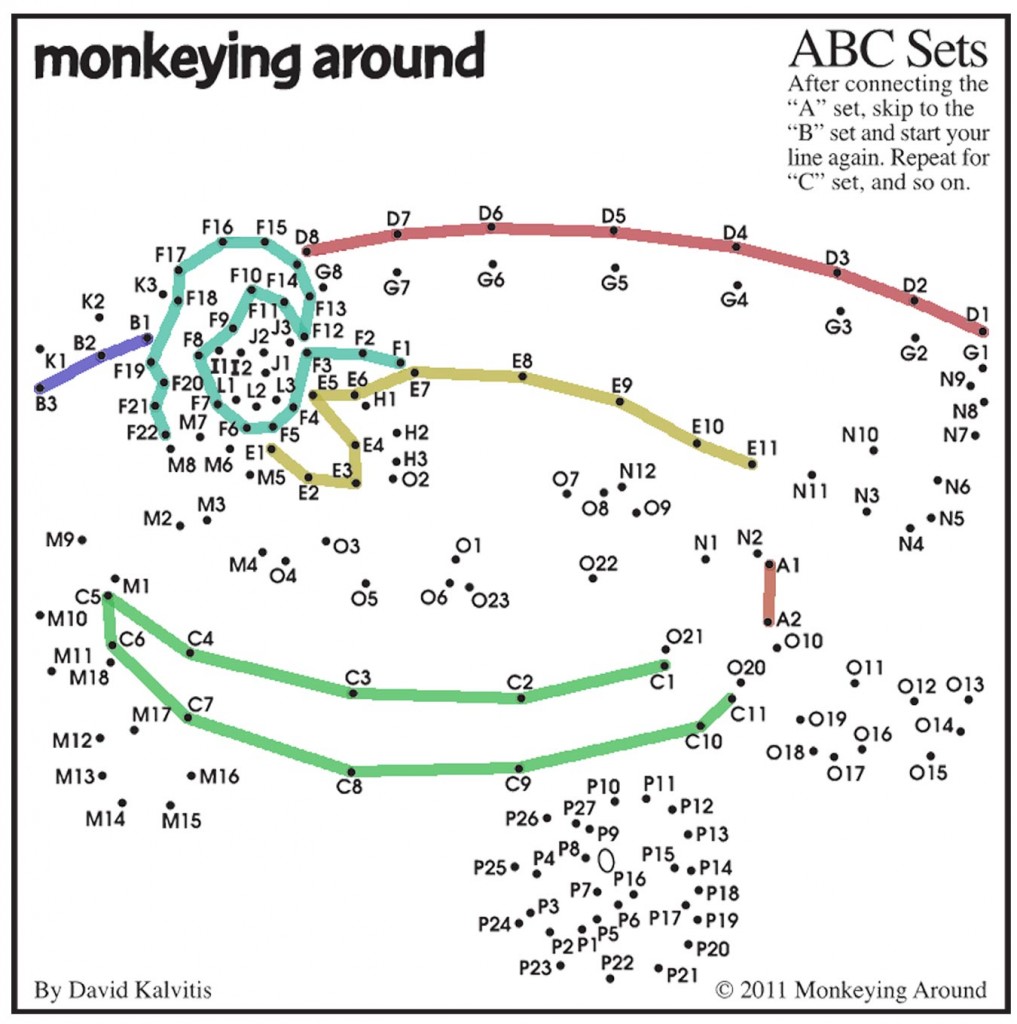
Below are images and instructions on how to solve the ABC Sets Dot-to-Dot puzzles by the
Greatest Dot-to-Dot Books.

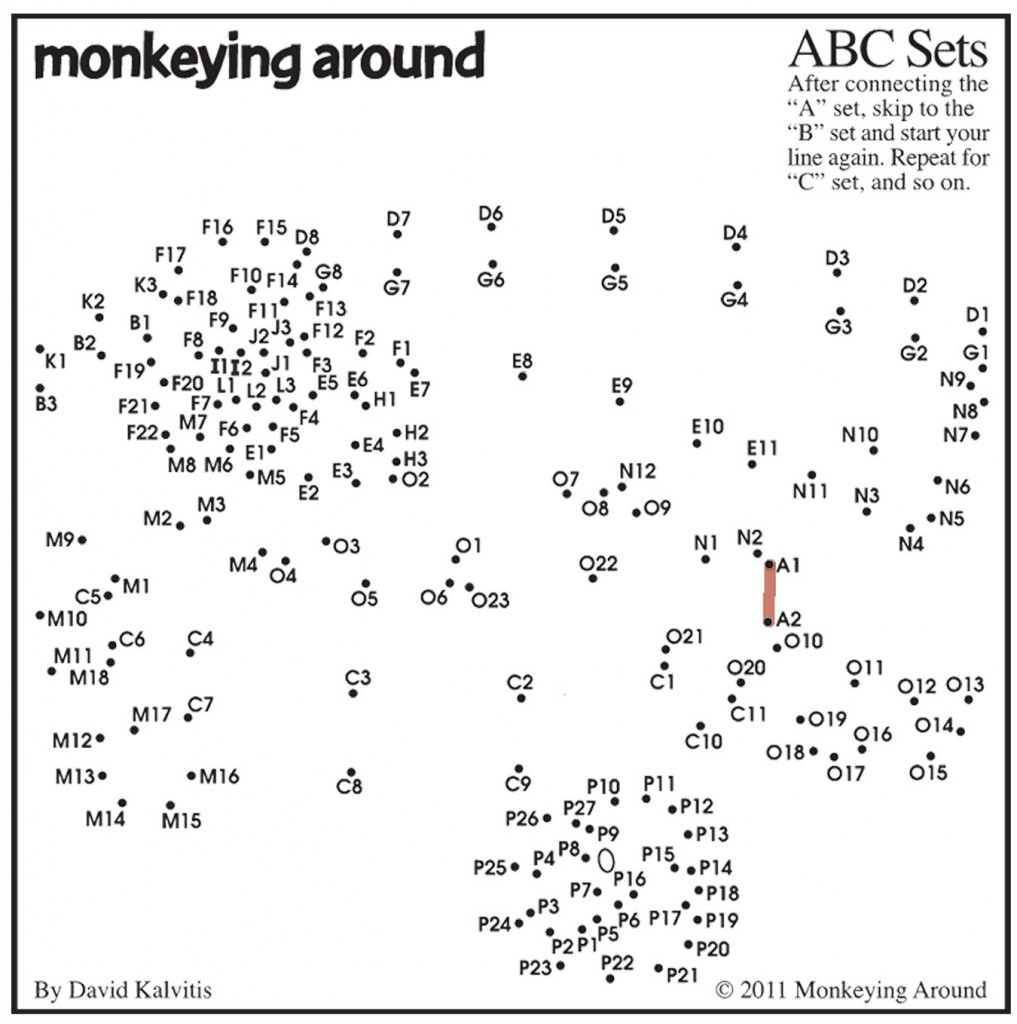
Instructions: After connecting the “A” set, skip to the “B” set and start your line again. Repeat for “C” set, and so on.

The Greatest Dot-to-Dot Book - ABC Sets Instructions

ABC Sets Dot-to-Dot Puzzle

Connect the “A”‘s, then stop.

Connect the “B”‘s, then stop.

Connect the “C”‘s, then stop.

Connect the “D”‘s, then stop.

Connect the “E”‘s, then stop.

Connect the “F”‘s, then stop.

You are finished with the puzzle after you have connected all of the dots in their own groups.

Monkeying Around Team Has Made Their 2013 Dot Day Marks

Monkeying Around Team Has Made Their 2013 Dot Day Marks

International Dot Day

David's 2013 Dot Day Mark

David’s 2013 Dot Day Mark

International Dot Day (every September 15th) is a celebration of creativity that was inspired by Peter H. Reynolds’ book “The Dot”. His Celebri-dots Blog is filled with other authors, illustrators and celebrities who share in the dream of a more creative world. For International Dot Day 2012 David created a “Mark”. He has continued this wonderful celebration by creating a 2013 “Mark”.
Celebrate your individual artistic talents with the rest of the world by making your own dot. Not sure what to do? The International Dot Day Facebook is loaded with “Dot” happenings from around the world and ideas.


Terri's Dot Day Mark

Terri’s Dot Day Mark

Terri’s Dot Day Mark:
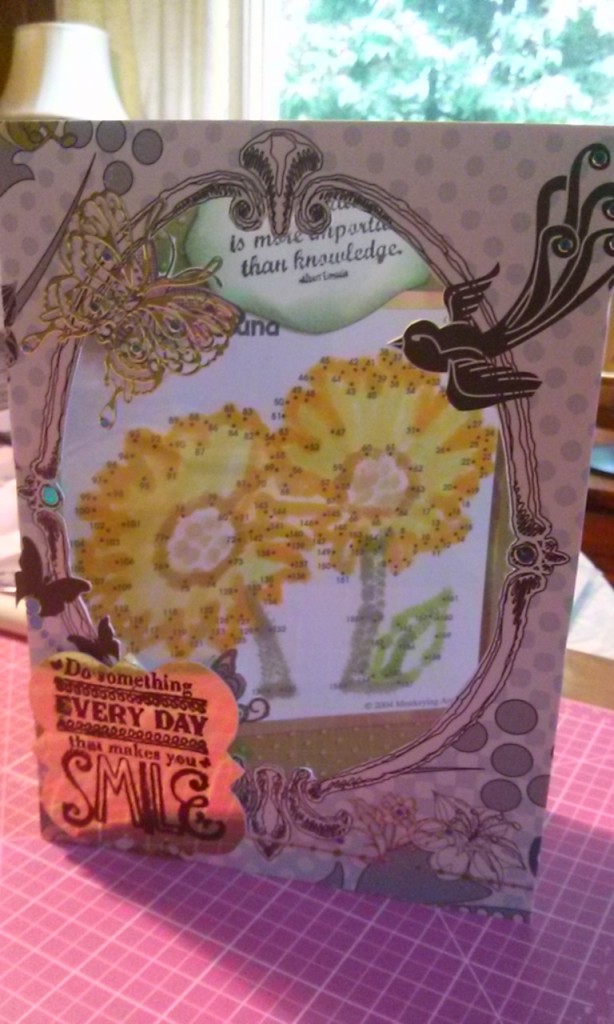
This year I made my own Dot Day Mark. Besides doing puzzles I also scrapbook and make cards. I created my Dot Day Mark by using the techiniques I learned making my crafts. My “Mark” is a Greatest Dot-to-Dot Newspaper puzzle from Vol. 3. I solved the puzzle using a Q-Tip painting techinique instead of a pencil or pen. I dabbed my Q-Tip onto a colored ink pad and solved the puzzle making Q-Tip Dots. I was able to see where to change colors by using the Puzzle Key located here. I used the final image in a homemade greeting card. If you are interested in seeing a greeting card using our Newspaper Dot puzzles visit our Greeting Card pages.

International Dot Day Greeting Card

International Dot Day Greeting Card
Terri's Dot Day Mark

Terri’s Dot Day Mark

My first favorite hobby is pencil puzzles. When I have time and room, jigsaw puzzles. My second favorite hobby is scrapbooking and card making. This is my first, but not last blog making cards using puzzles from the Greatest Dot-to-Dot Newpapers books.

Recycle/Reuse dot-to-dots….

This year I made a “Mark” to celebrate International Dot Day. Of course, we celebrate Dot Day! I decided to use the “Mark” in a greeting card since it came out so good. Here is how I made it:


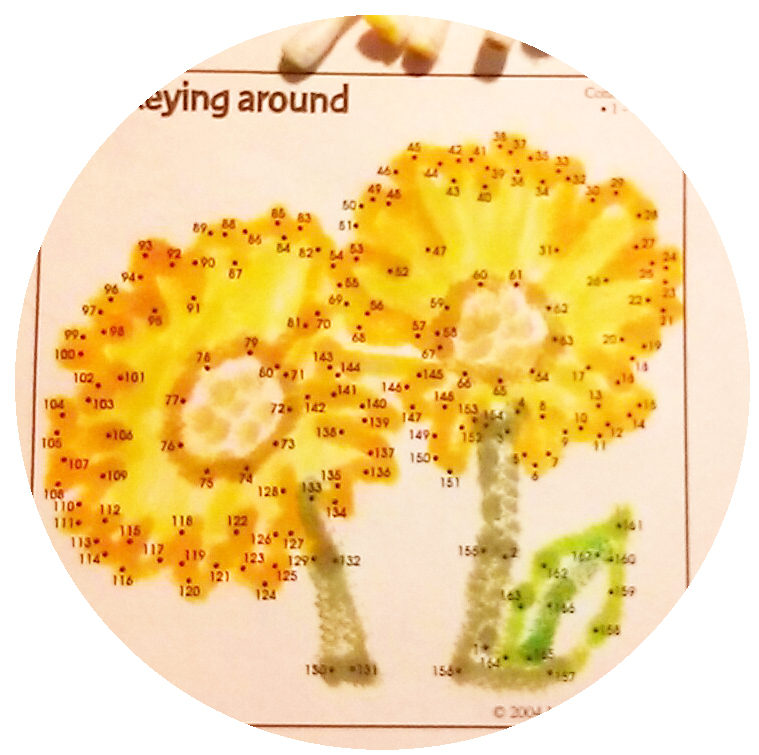
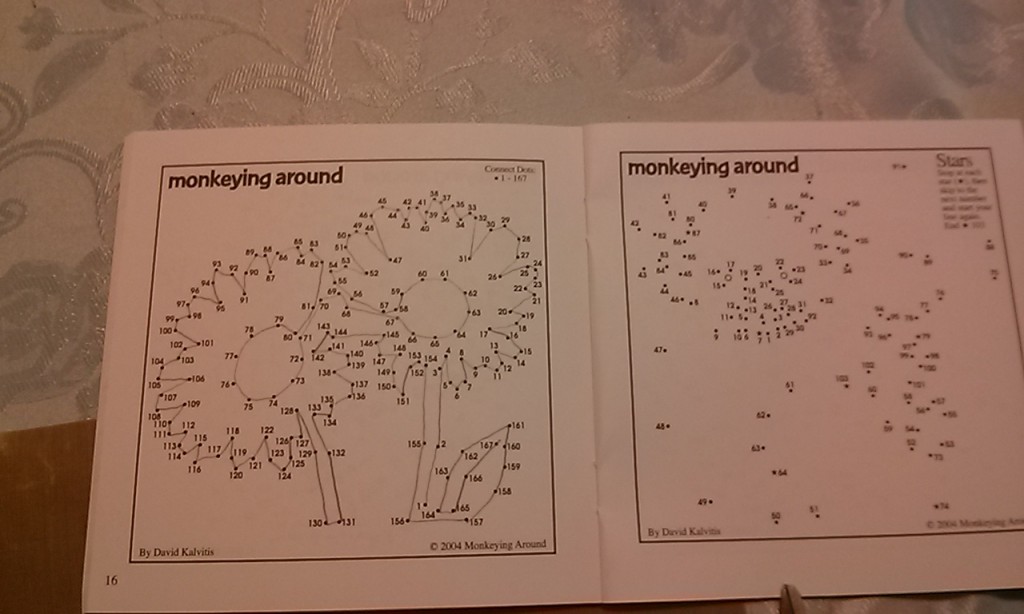
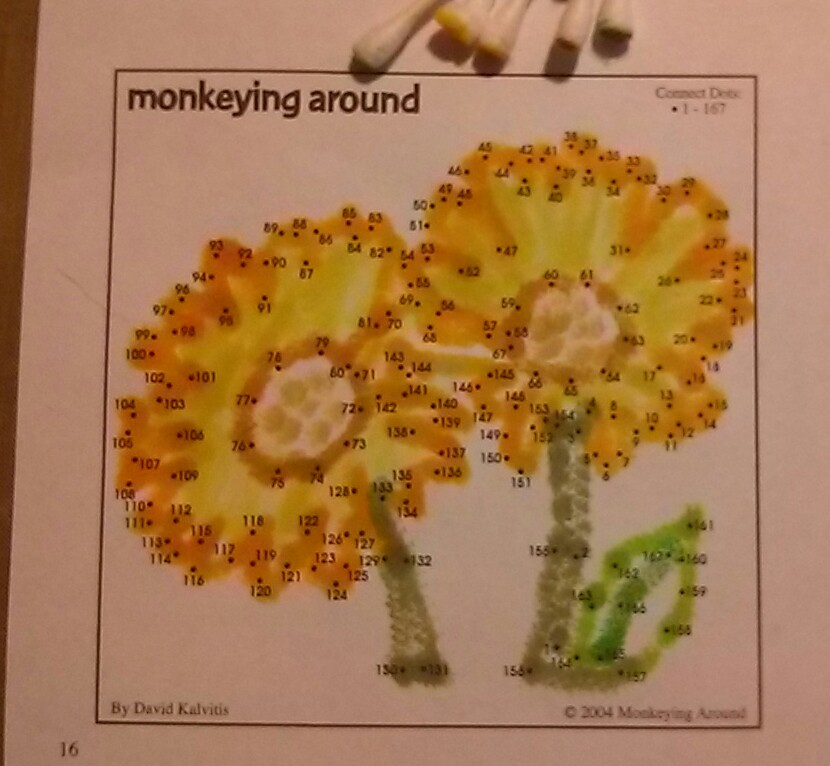
1st(finding a puzzle) – I went through all of our Puzzle Keys for the Greatest Dot-to-Dot Newspaper Books. These puzzles are 4.5″ x 4.5″ and are perfect for using in greeting cards. Even if you have solved the puzzle you can use it in a greeting card, just erase your pencil lines. What a great way to recycle/reuse. I decided to use a flower puzzle from Newspaper Vol. 3. I wanted to use the Q-Tip techinique to solve the puzzle and this image had enough room between the dots to have the final puzzle still look good.

Puzzle from Newspaper Dot-to-Dot Vol 3

Puzzle from Newspaper Dot-to-Dot Vol 3


Greatest Newspaper Dot-to-Dot Puzzle solved using ink and Q-tips

Greatest Newspaper Dot-to-Dot Puzzle solved using ink and Q-tips

2nd(solving the puzzle) – I cut out the page and erased the solved puzzle, keeping track of the numbers in the puzzle where I wanted to change colors. I used Q-tips and 6 ink pads (3 yellows and 3 greens). I dabbed the Q-tip on the ink pad and then made dots in a line on the puzzle, following the numbers in order. I used a light yellow to fill in the flowers. I really like how the Q-tip does not make a perfect dot.


Outside of Dot-to-Dot Greeting Card

Outside of Dot-to-Dot Greeting Card

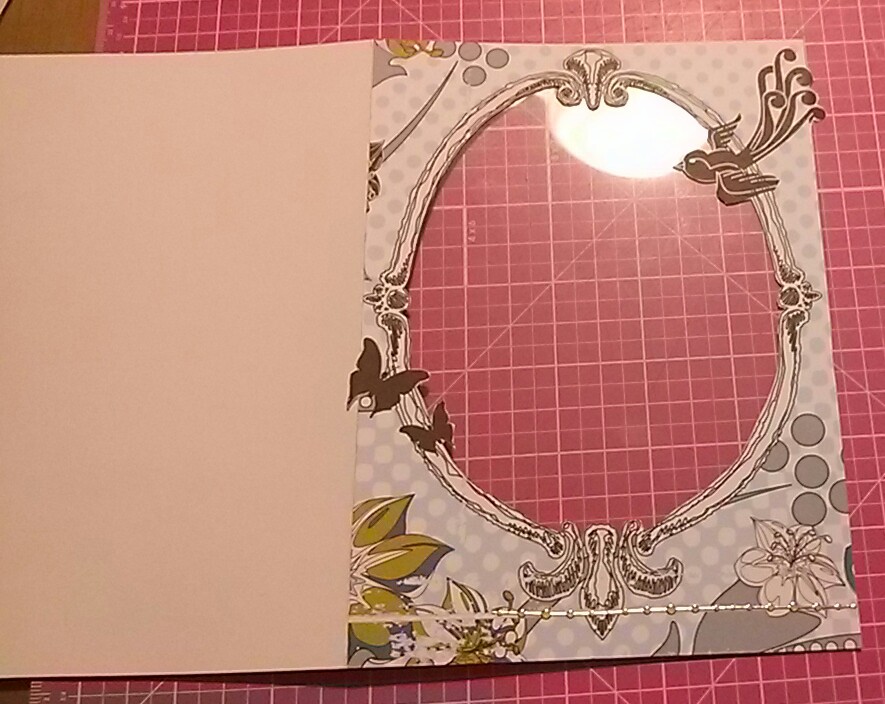
3rd(front of the card) – I cut a 10.5″ x 7.25″ piece of card stock. Folded it in half to 5.25″ x 7.25″. I cut a piece of Urban Lily Everyday Lily cardstock to fit the front of the card, trimming around the butterly and bird. I cut the inside of the oval out(unfold the card first) and then lined the back of the oval with clear acetate. I took a gold Hot of the Press dotted Dazzles line and placed it near the bottom to cover up the faded line that was on the cardstock.


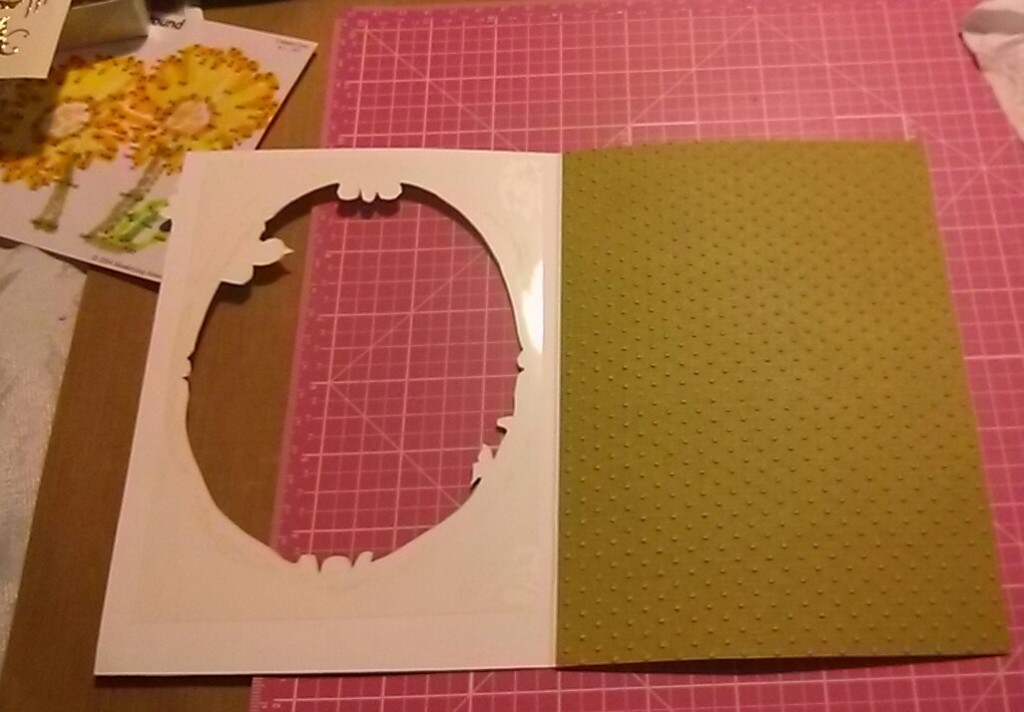
The start of the inside of the Greatest Dot-to-Dot Greeting Card

The start of the inside of the Greatest Dot-to-Dot Greeting Card

4th(inside of the card) – I cut a 5.25″ x 7.25″ green piece of cardstock and ran it through my Fiskars Fuse with a Swiss Dots Cuttlebug A2 Embossing Folder, twice.


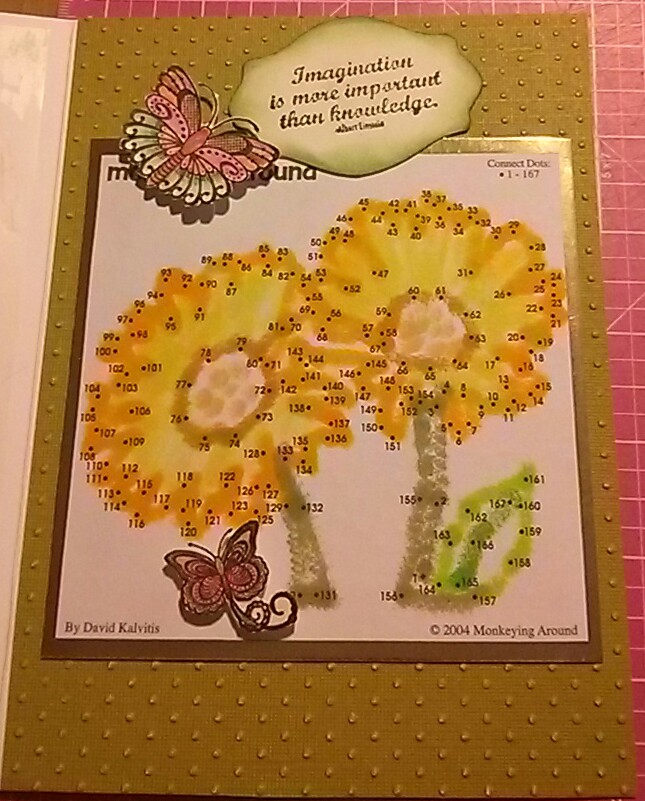
The finished inside of the Greatest Dot-to-Dot Greeting Card

The finished inside of the Greatest Dot-to-Dot Greeting Card

5th(inside of the card) – I glued the puzzle to a gold piece of Anna Griffin® Metallic cardstock and trimmed it 1/4″ past the puzzle for a border. I used glue dots to attach the puzzle with border to the swiss dots paper. I used two butterflies stamps from the Hot Off The Press Simply Susan Papercrafting Kit. I stamped them in black Versfine on white cardstock, colored them in and cut them out. I lifted them up using foam squares. I cut out a tag using the Hot of the Press design toolkit and stamped a phrase from the Londonberry Park Stamp and Ink Kit.

here is the final

here is the final

6th(final card) – I took a gold Dazzles butterfly and placed it towards the top of the card. I placed Teal Jewel Dazzles on it to add color. I cut out a tag using the Hot of the Press design toolkit and stamped a phrase from the Hot Off The Press Simply Susan Stamp set in black VersaFine. I then embossed it using black embossing powder. I attached it using foam squares. A few extra Teal Jewel Dazzles and the card was done.

That’s it. I hope you enjoyed my first Dot-to-Dot greeting card post.

International Dot Day – September 15th

International Dot Day – September 15th


International Dot Day
International Dot Day (every September 15th) is a celebration of creativity that was inspired by Peter H. Reynolds’ book “The Dot”. His site is filled with other authors, illustrators, teachers, kids and celebrities who share in the dream of a more creative world. Learn more about International Dot Day!. Celebrate your individual artistic talents with the rest of the world by making your own dot. Not sure what to do? Check out the Celebri Dot blog post to see the Celebri-dots. The International Dot Day Facebook is loaded with “Dot” happenings from around the world.

David & Terri talk about “Word Search” Puzzles

David & Terri talk about “Word Search” Puzzles

The “Word Search” Puzzle
by David Kalvitis

I would have guessed that the “Word Search” puzzle has been around a long time, but apparently it really hasn’t.

“The word search puzzle was invented by the Spanish puzzlemaker Pedro Ocón de Oro, inventor of over 125 puzzle and word games, under the name Sopa de letras.”

“The first word search puzzle in the US appeared on March 1, 1968 in the Selenby Digest, a local want ad digest published in Norman, Oklahoma. Originally designed and published by Norman E. Gibat, the puzzles proved to be very popular locally and were eventually syndicated to newspapers across the country.” 1

I used to buy “Word Search” books as a kid. I always tried to keep my circled words very neat, but eventually it got pretty messy. Maybe using a highlighter would have been neater. Now they have apps that make the most perfect oval you’ve ever seen, even on a diagonal!

I also used to try to make my own “Word Search” puzzles occasionally. I would start with graph paper and put the letters in the boxes. For the final version I had to space everything perfectly on my Mother’s old typewriter.

I am very impressed with the “Word Search” puzzle generators that you can find online today. When I tried a program just for fun, it really criss crossed and packed the words in, making my puzzle very difficult. It sure seems like it would be fun to pick a topic like birds or animals or whatever and make your own puzzles to solve.2

1 Dave Fisher, Word Search Puzzle, About.com http://puzzles.about.com/od/glossary/g/Word-Search-Definition.htm
2 Make your own Word Search with Discovery Education’s Puzzlemaker! puzzlemaker.discoveryeducation.com/WordSearchSetupForm.asp?

Word Searches
by Terri-Lea

Word Searches… I have been doing them since I was in 1st grade, maybe earlier. It was one of the first pencil puzzles I could solve.

Word Searches do not require knowing how to spell or definitions to solve. No math knowledge is needed, just the ability to look at letters in sequential order and circle them in a grid. Most words are found in a straight line, but the more challenging Word Searches have puzzlers where you find them in a rectangle or bending around a corner. Word Searches can be put into shaped grids to match the word themes. They can also be all numbers. More difficult puzzles have a word list to fill in as words are found. Some searches are so detailed that the remaining letters will form a phrase.

Word Searches are so popular they are used in newspapers, restaurant kid menus, Games Magazine and Dell/Penny Press Magazines. Teachers also use them for spelling and subject learning tools.

My personal favorite – Number Word Searches.

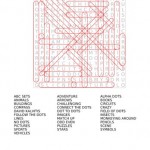
Try our Monkeying Around Word Search Puzzle :

What Do You Use When Connecting the Dots?

When solving pencil puzzles most people use a pencil. The reason is obvious, so you can erase an error. The more confident puzzlers use a pen, making a cleaner, darker more defined line and image. Pencils are great for most paper puzzles like crosswords, word searches, fill-ins, cryptograms and Sudoku. But what about puzzles that create an image, like a dot to dot? Simple images for younger kids can be done using almost anything, including a crayon. The dots are usually spaced far enough apart for thick fuzzy lines to be seen clearly.

When solving more challenging dot to dot puzzles with lots of numbers, for older kids and adults, what should you use?

Newspaper Dot-to-Dot Vol2 page 16

Greatest Dot-to-Dot Newspaper Puzzle done in pencil

Pencils

• Pencils are adequate, especially if you make a mistake, but provide a very faint image. The dark black dots and numbers tend to make it hard to see a light pencil line drawing. I previously used a pencil while I was testing the puzzles because making a mistake the first time through does happen a lot.

Newspaper Dot-to-Dot Vol2 page 17

Greatest Dot-to-Dot Newspaper Puzzle done in Pilot Frixion Pen

Pens

• Pens are acceptable because they can make the final picture show up better than a pencil. But, what happens when you make an error? Crossed out lines or white out… Recently I have found the Pilot Frixion Erasable Pen. It makes a clean line because it’s a pen, but it erases like a pencil. I love it and it comes in different colors as well. There is one drawback with the Pilot Frixion Erasable Pen though.  Heat from the eraser causes the ink to disappear, so the ink lines are susceptible to any form of heat, for instance, don’t leave your book in a hot car.  But if you accidentally do, just put it in the freezer.

Newspaper Dot-to-Dot Vol2 page 14

Greatest Dot-to-Dot Newspaper Puzzle done in Paper Mate Flair Marker

Markers

• Markers (which is what David Kalvitis prefers) make the darkest heaviest lines and make the final picture’s lines much more clearly visible. But, as with a pen, it is not erasable, so it is recommended only for the most confident of puzzlers. When it comes to the Greatest Dot-to-Dot Books, David always recommends a Flair Fine Point or thin Crayola marker, as it more dramatically pops the image out from around the clusters of dots and numbers.

Chalk

• Chalk is horrible, especially since it’s usually white, but David thought it would be funny to include anyways. (No image included)

If you are worried about making a mistake and ruining the final picture, lightly use a pencil first. You can always go back over the lines later with a heavier or darker pen or marker.  This is also a great way to teach younger children to count.  You do the puzzle in pencil and have them retrace the image in marker or pen.

Take a look at the images below and you decide which makes a better image.

There is no right or wrong choice… But…       Be Bold When Connecting the Dots!

Save

Free 2013 Independence Day Dot-to-Dot puzzles

Please feel free to download the following 2013 Independence Day Dot-to-Dot Puzzles for your summer project or just if you feel like doing a puzzle. Our puzzles are recommended for ages 8-108.

HURRY:
Our “holiday” free sample puzzles will only be available during their specific holiday. Check back for the next holiday freebie dot-to-dot. For our year-round sample puzzles go here: Free Samples Dot to Dots

Each image below will download a PDF. You will need Acrobat reader to view and print these pdf files.


Greatest Dot-to-Dot FREE Independence Day puzzle sample

Greatest Dot-to-Dot FREE Independence Day Newspaper puzzle sample