
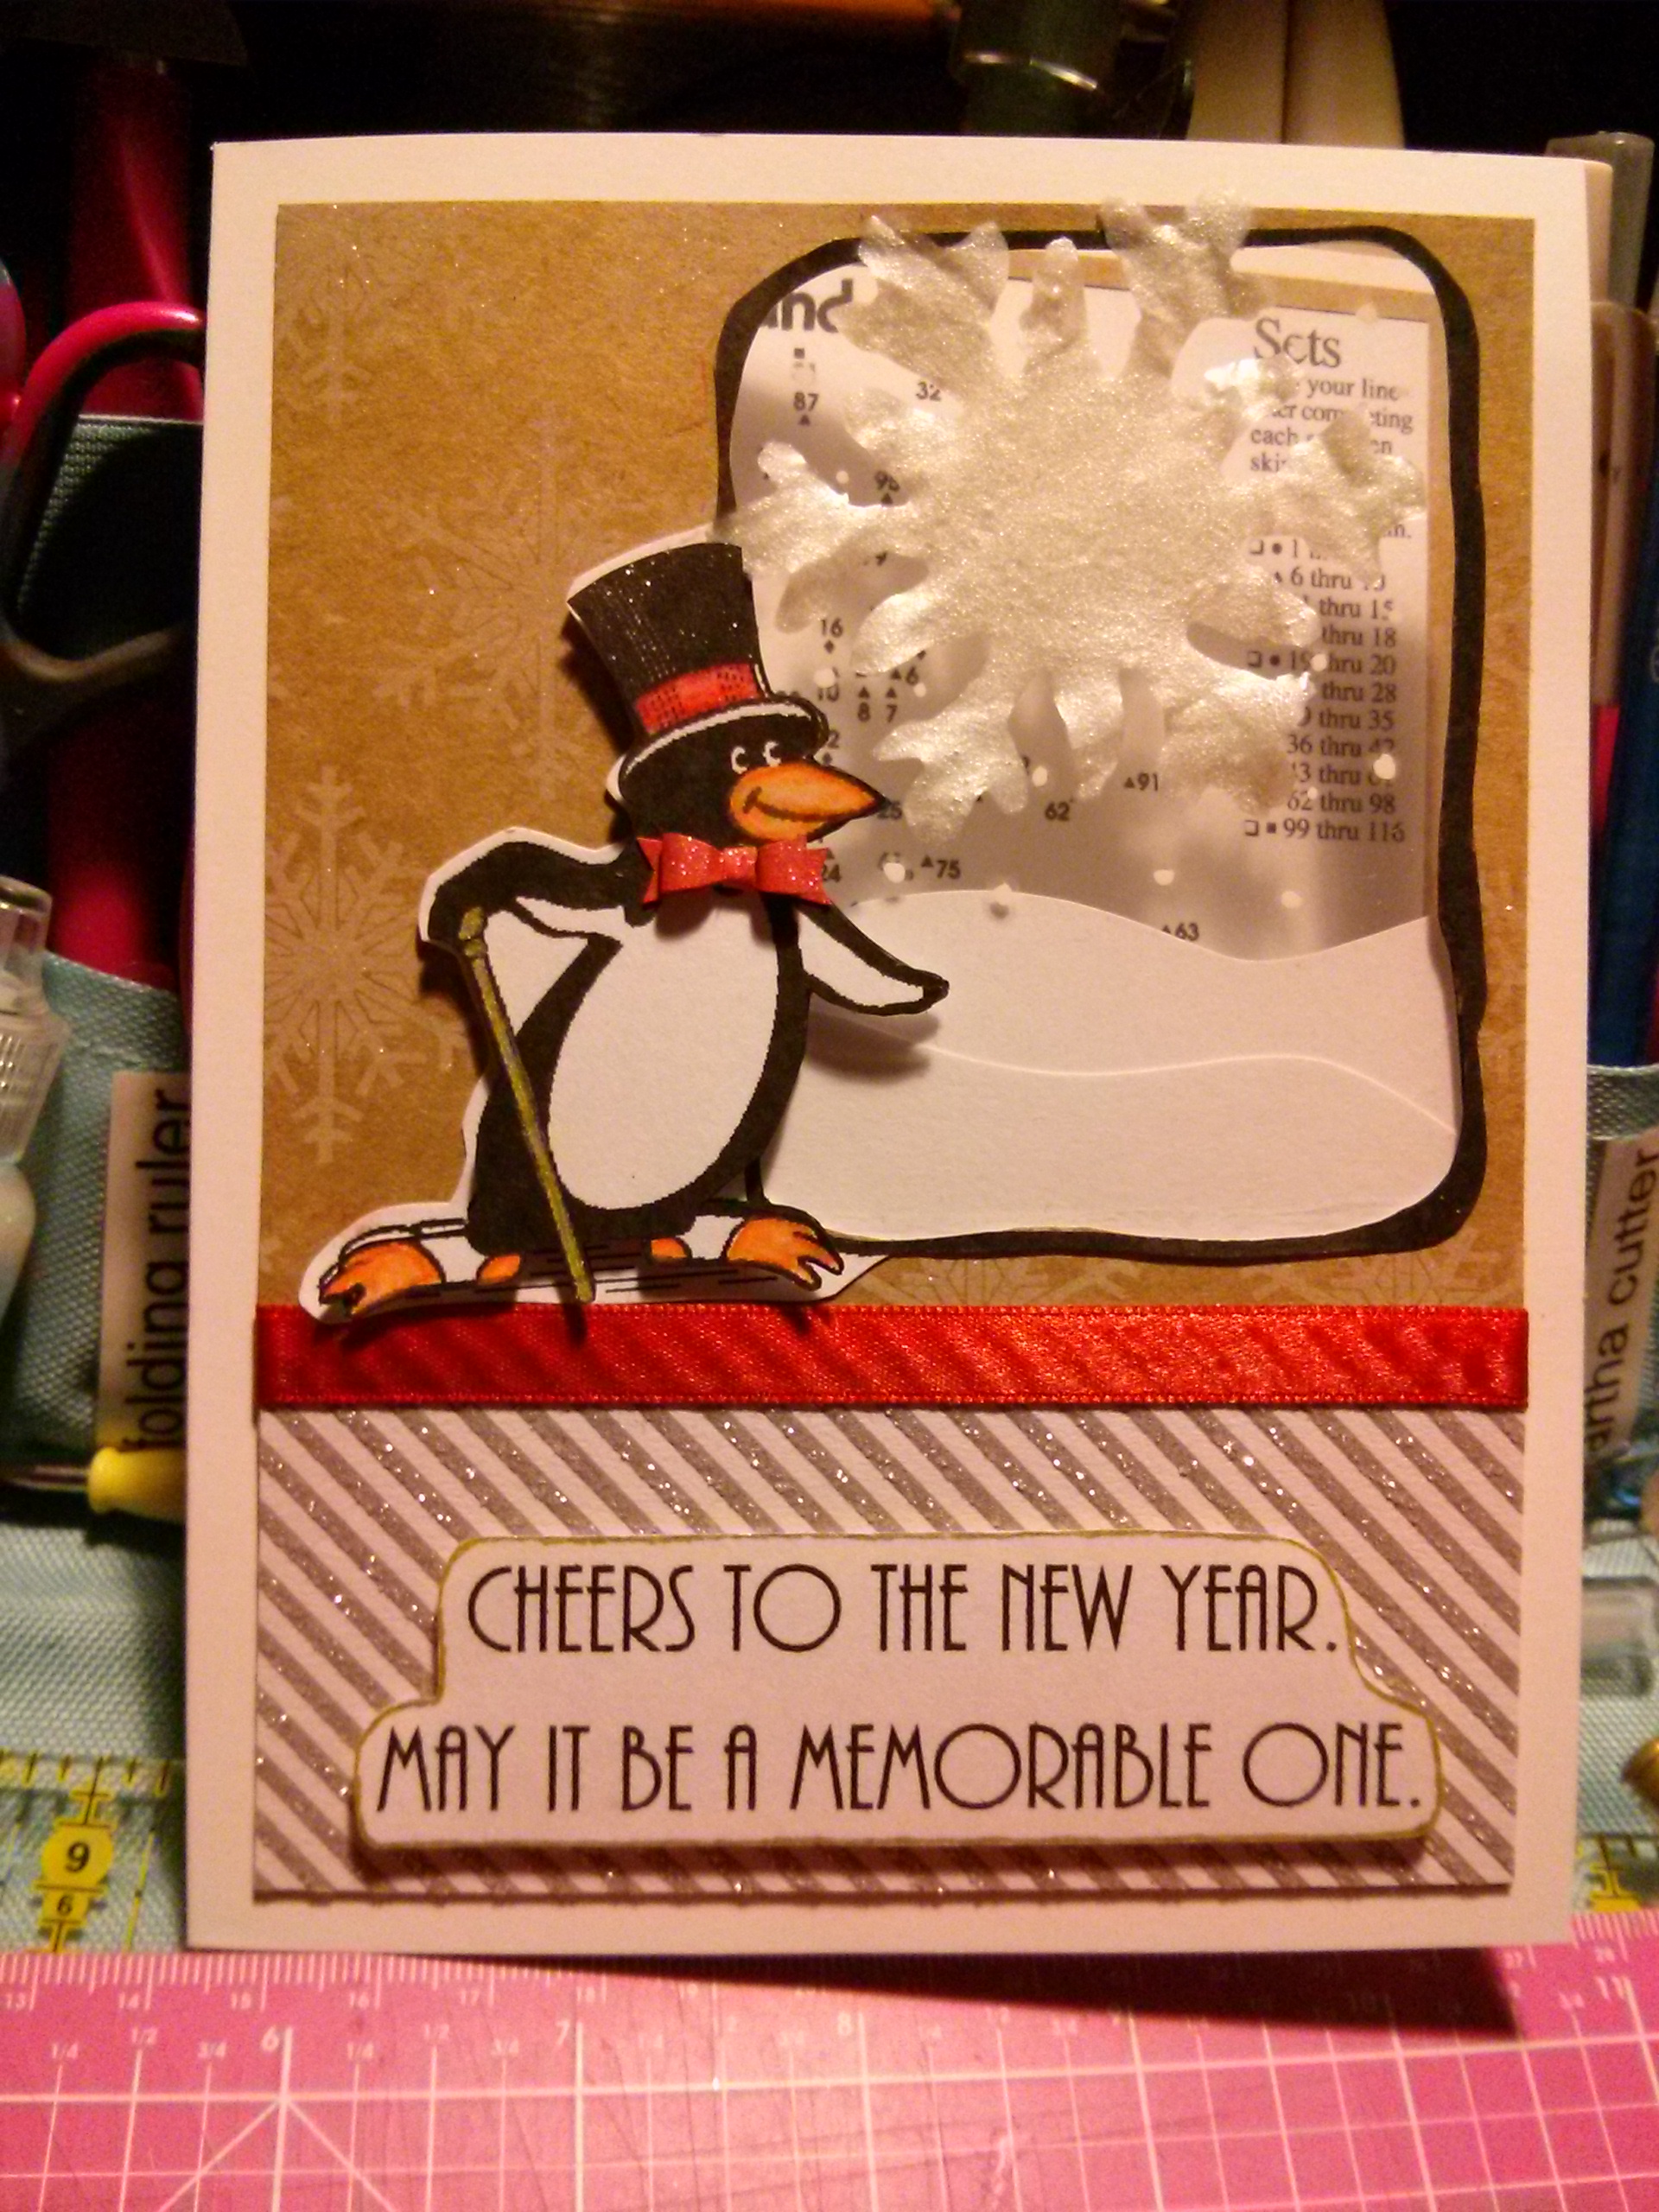
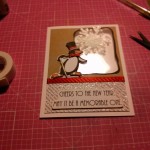
Here is the New Year’s I card made using our Winter Sample Dot-to-Dot on the inside. This card is fairly simple and use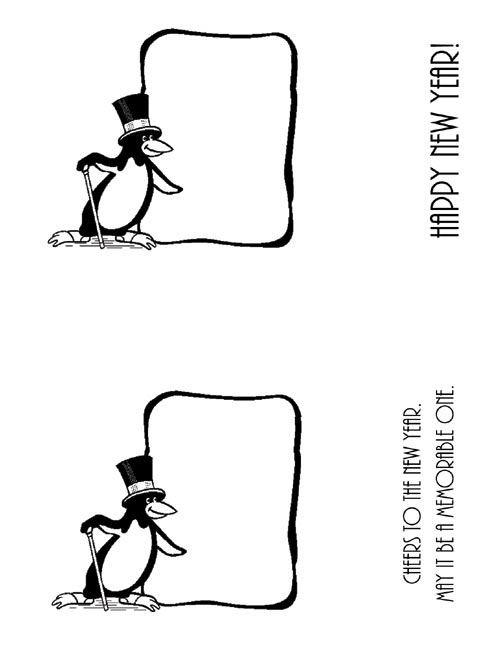 s every day craft items to create.
Supplies I used:
- 2 sheets of patterned cardstock
- 1 ribbon
- Clip art sheet with penguin and sentiments
- 1 8½” x 11″ sheet of heavy white cardstock for base
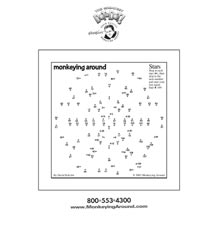
- Greatest Dot-to-Dot Sample Newspaper Puzzle for Winter
- 1 piece of scrap acetate
- DIY Snowflake Recipe
Tools I used:
- Watercolor Pencils
- Water brush
- Scissors
- White and Gold Gel Pens
- Wink of Stella Clear Glimmer Pen
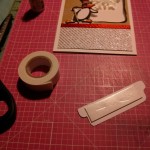
- Double-sided Tape
- Glue
- Foam squares
- Paper Cutter
Print out the two pdf clip art files from above. Color in one of the penguins. Cut out the two sentiments.
 Paper dimensions:
- Cut 8½” x 11″ sheet of heavy white cardstock down to 7″ x 10″. Score cardstock in half to make card 5″ x 7″.
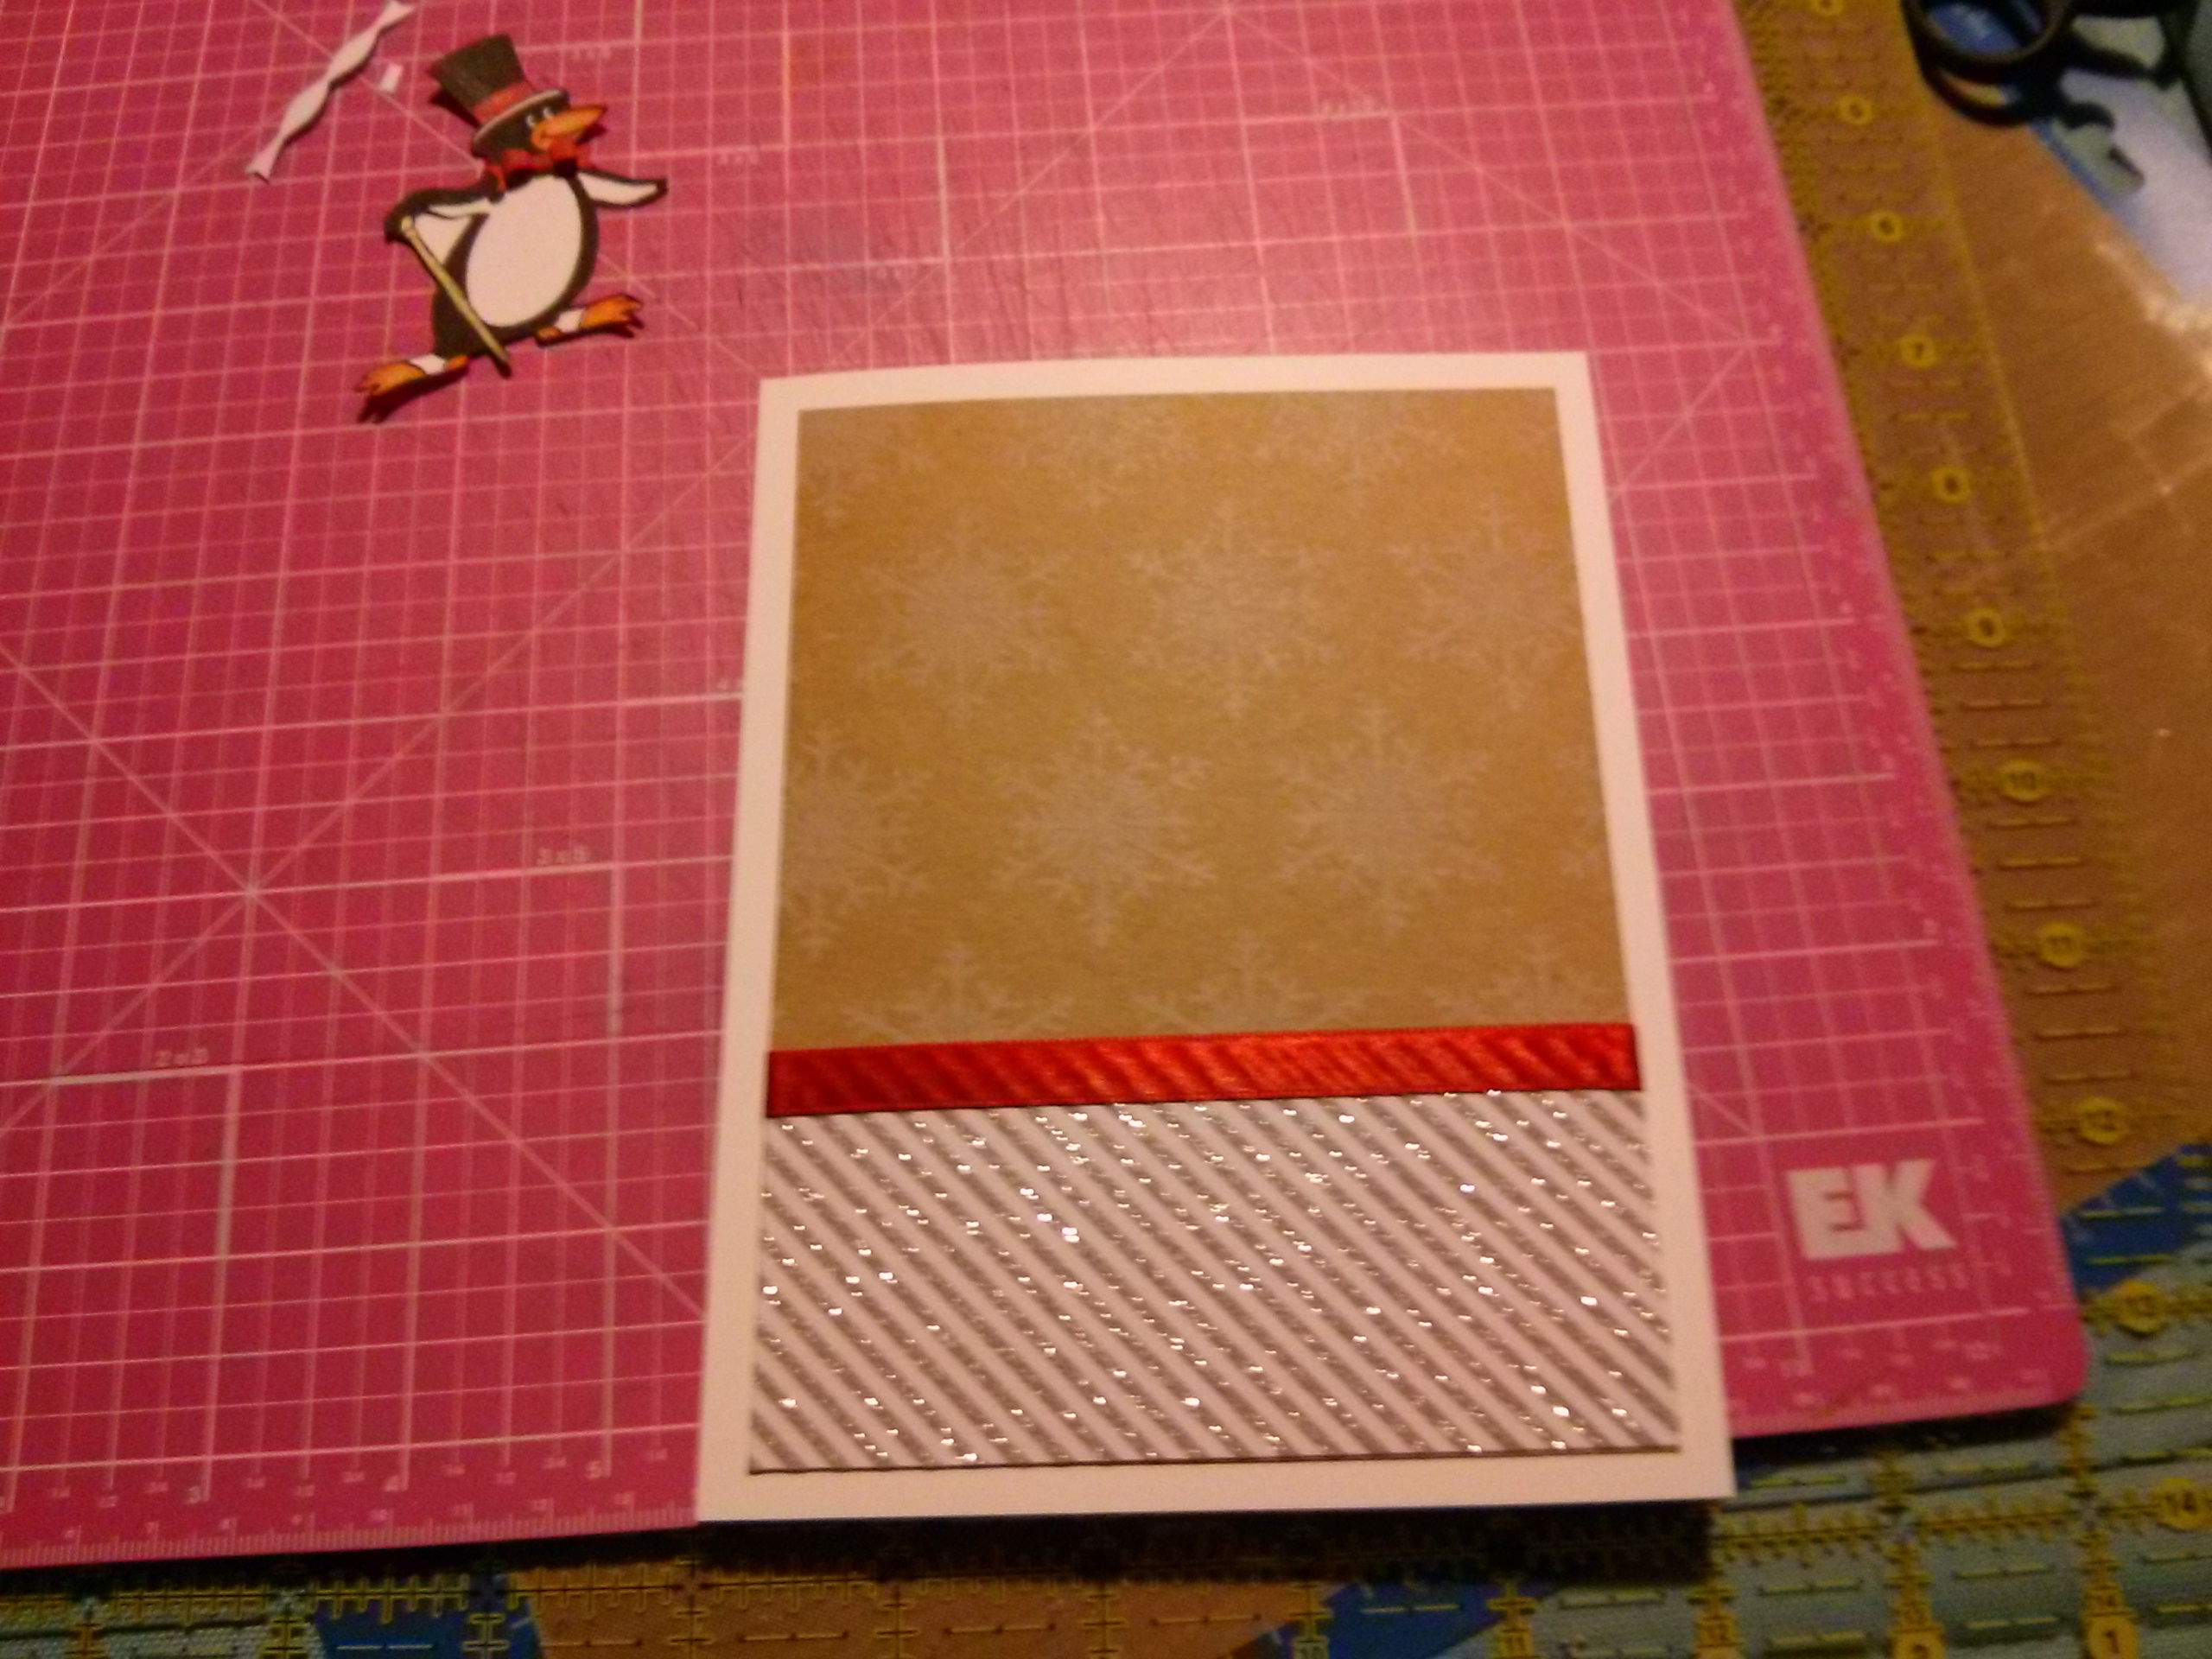
- Cut pattern cardstock for front of card (top half) 4¾” x 6¾”.
- Cut light pattern paper 4¾” x 2¾” and place on bottom of cardstock (4¾” x 6¾”)
- Place ribbon over seem of papers and attach to back of cardstock (this hides the ends of the ribbon).
- Place on front of white card stock.
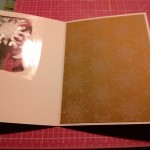
- Cut pattern paper for inside of card (4¾” x 6¾”)
Click the first image below to see the full instructions.
-
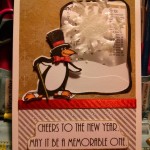
- Final results of card.
-
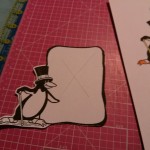
- Trim out one of the penguin frames.
-
- Color in the penguin you did not cut out.
-
- I used watercolor pencils and a water brush for this look.
-

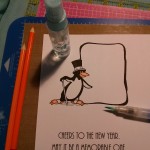
- Color the cane, I used a gold gel pen.
-
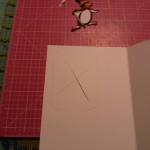
- Cut an X in the frame of the uncolored penguin.
-
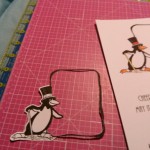
- Trim out the white from the frame.
-
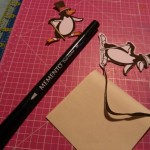
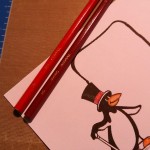
- Fussy cut out the colored penguin. Use a black marker to hide any white paper edges.
-
- Trim out white from the remaining frame.
-
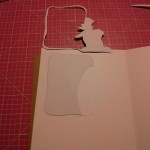
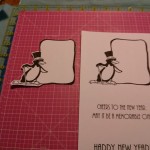
- Flip the trimmed out frame over and trace it on the inside of the card. Eventually you will cut this out for a window.
-
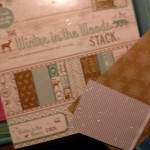
- Here is the DCWV paper stack I used.
-
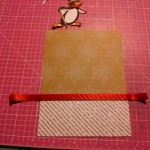
- Use the dimensions above to create the front of the card.
-
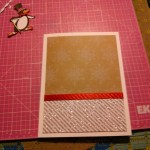
- Attach to the front of the card.
-
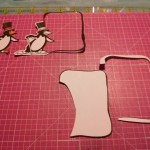
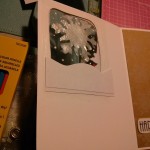
- Open the card now that the front of the card is attached. Cut an X in the traced frame.
-
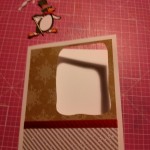
- Cut out the frame. It should look like this when you are done.
-
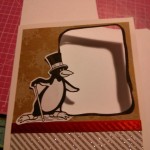
- Glue the penguin with the frame attached over the hole. Trim away any excess white frame.
-

- Use foam dots to pop the colored penguin on top of the noncolored one.
-
- This will give the penguin dimension.
-

- Make sure to attach the beaks so they don’t bend the wrong way.
-
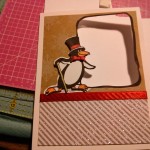
- Cut out the sentiment and foam tape the back of it.
-
- Attach the sentiment as shown.
-
- Tape the acetate over the hole. Open the card and put dots (snow) on the acetate using the white gel pen. Keep the card open until they dry fully.
-
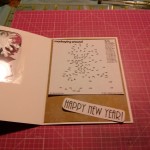
- Cut out the puzzle and attach it as shown. Fussy cut out the Happy New Year to fit on the inside of the card.
-
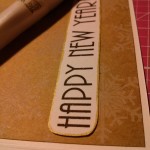
- I used the Zig Wink of Stella Clear brush pen on the sentiment to add some shine.
-
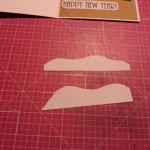
- I cut out two snow drifts from the extra white cardstock.
-
- I placed them on the back of the acetate as shown above.
-
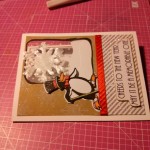
- I used the Wink of Stella pen on the background snowflakes to give them shine. I added a DIY Window Cling snowflake.
Enjoy and Happy New Year!