
2013 Halloween Greeting Card
1. Start with the Free Mini Halloween Puzzle from our Blog Post. The puzzle size is 4½ x 4½ so I made the card 6½ x 5 ( a 10 x 6½ piece of cardstock folded in half). Although I custom make my envelopes this card will fit in a A7 envelope.
2. I used two sheets of specialty paper that I never thought I would use for anything. They seemed to work great for a Halloween themed card. I glued the dotted paper to the front of the cardstock and trimmed off the excess. 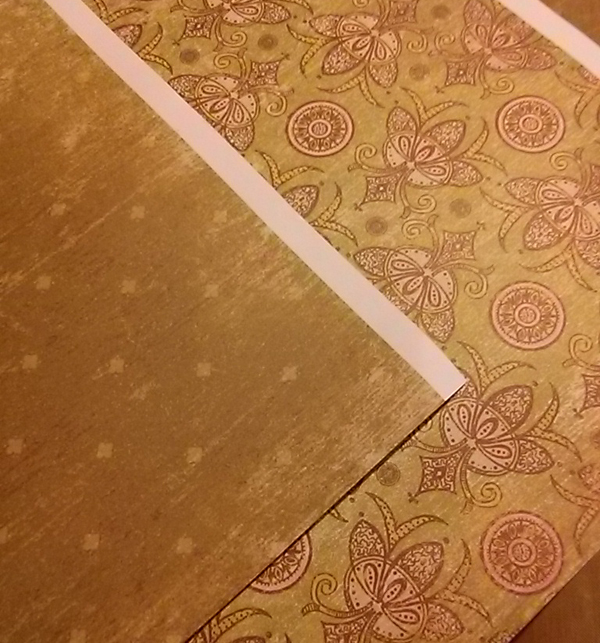 I used the circle/flower patterned paper on the inside and trimmed that to fit as well.
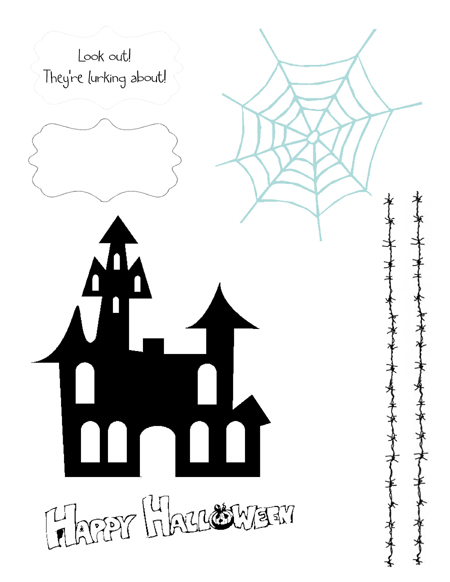
Downloadable Halloween Card Images
3. To the left is a sheet of images that I used or almost used in the making of the card. Feel free to download it and use any images you would like. For the front of the card I chose the Haunted House image. I cut it out from the sheet, trimmed the outside of the house as well as cut out all of the windows. I placed the house where i wanted to be on the cover and traced the inside of each window on the cardstock underneath.
After opening up the card flat, I removed the house and used a craft blade to cut out each window from the cardstock. I glued the house to the front of the card being careful to line up the windows.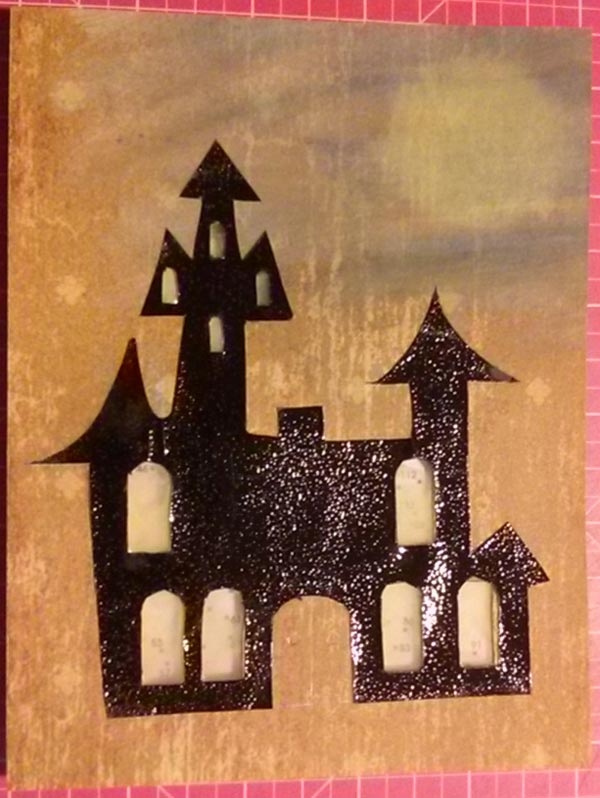 Then a piece of clear acetate was placed on the inside of the card to back the open windows, giving the appearance of windows.
4. On the inside of the card I glued the puzzle. I cut out the label from the image sheet and attached it to the card using foam squares.
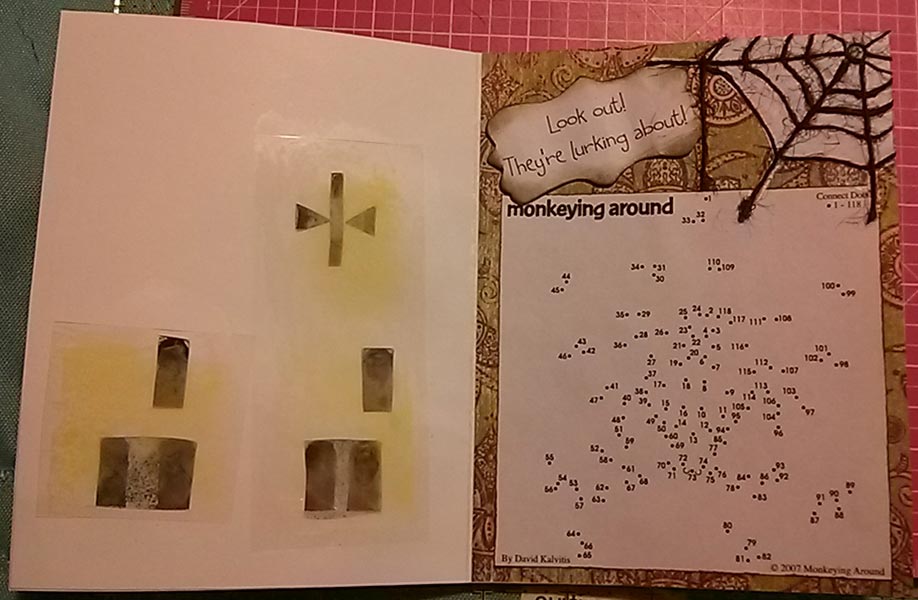 5. My favorite part: The spider web. I took the web image from sheet and placed it on the top corner of the card (do not glue), trimming off only half. I put glue stick adhesive on the center of the web and attached black tulle following the web. I worked my way out lining the circular lines first.
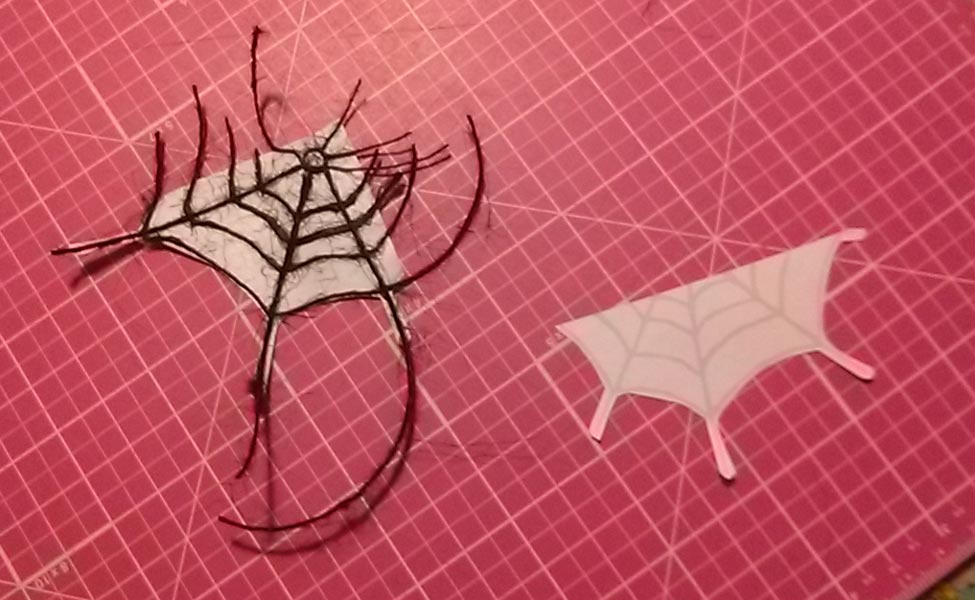
After all of the those were done I glued each web extension rolling the glue stick down the web line, then placing the tulle over the glue. Rolling the glue stick kept the rest of the tulle from coming off. I then glued the web to the card. The last piece of tulle (webbing) was dropped straight down towards the #1 of the puzzle.
 6. I had some old letter stickers so I used them to spell out Trick or Treat on the front. I figured the puzzle would be a good “treat” for the receiver. David really liked the windows and they way they showed a few of the dots through them.
I hope you enjoyed this card and get to give a few of your own.
Things I might do differently: I definitely would use a full sheet of acetate to cover the full inside of the card instead of the two smaller pieces I had. I also might move the puzzle up an inch for a hand written sentiment. As it is right now there is no room. An A7 envelope is 5¼ x 7¼ so I could have made the card 5 x 7 giving me more room.