
Terri’s Dot Day Mark
My first favorite hobby is pencil puzzles. When I have time and room, jigsaw puzzles. My second favorite hobby is scrapbooking and card making. This is my first, but not last blog making cards using puzzles from the Greatest Dot-to-Dot Newpapers books.
Recycle/Reuse dot-to-dots….
This year I made a “Mark” to celebrate International Dot Day. Of course, we celebrate Dot Day! I decided to use the “Mark” in a greeting card since it came out so good. Here is how I made it:
1st(finding a puzzle) – I went through all of our Puzzle Keys for the Greatest Dot-to-Dot Newspaper Books. These puzzles are 4.5″ x 4.5″ and are perfect for using in greeting cards. Even if you have solved the puzzle you can use it in a greeting card, just erase your pencil lines. What a great way to recycle/reuse. I decided to use a flower puzzle from Newspaper Vol. 3. I wanted to use the Q-Tip techinique to solve the puzzle and this image had enough room between the dots to have the final puzzle still look good.
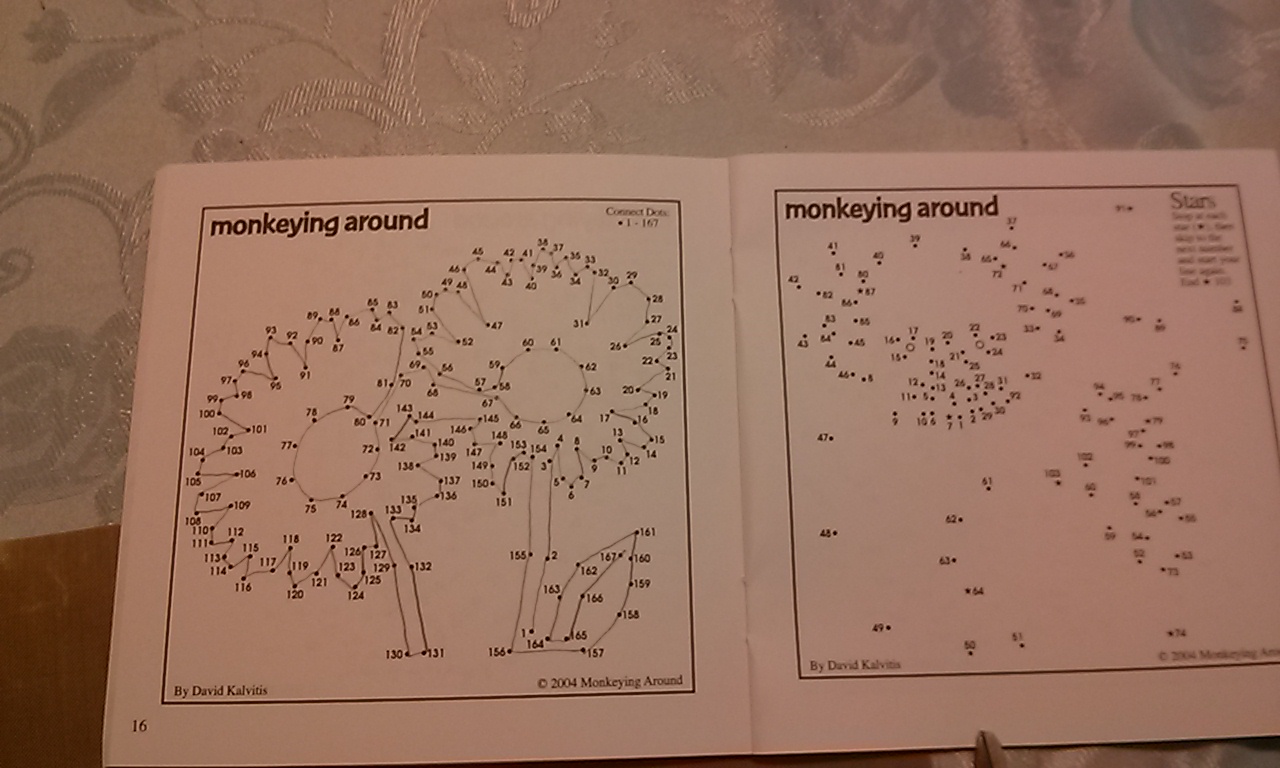
Puzzle from Newspaper Dot-to-Dot Vol 3
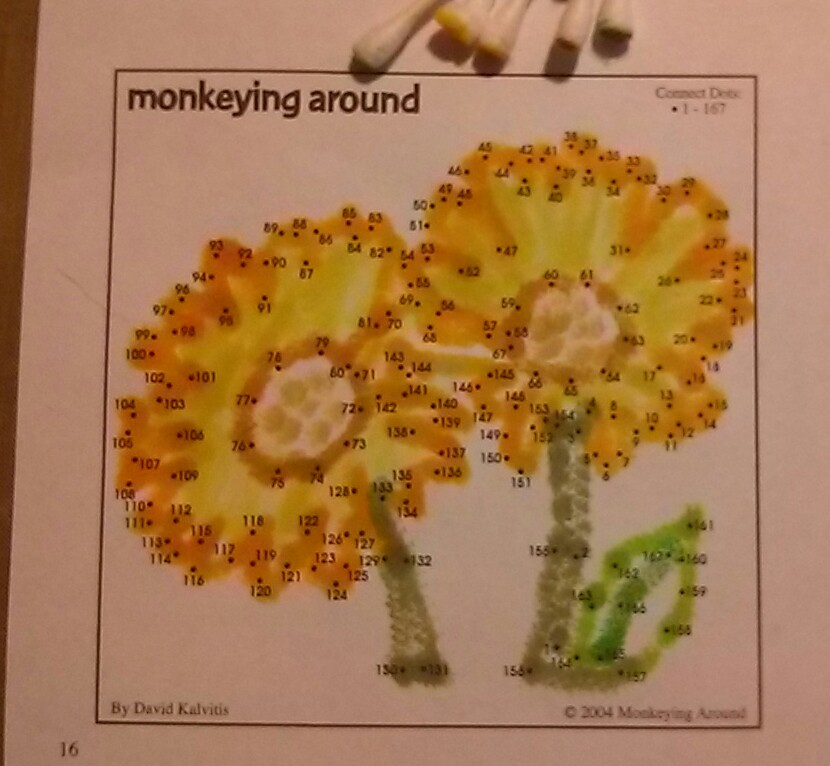
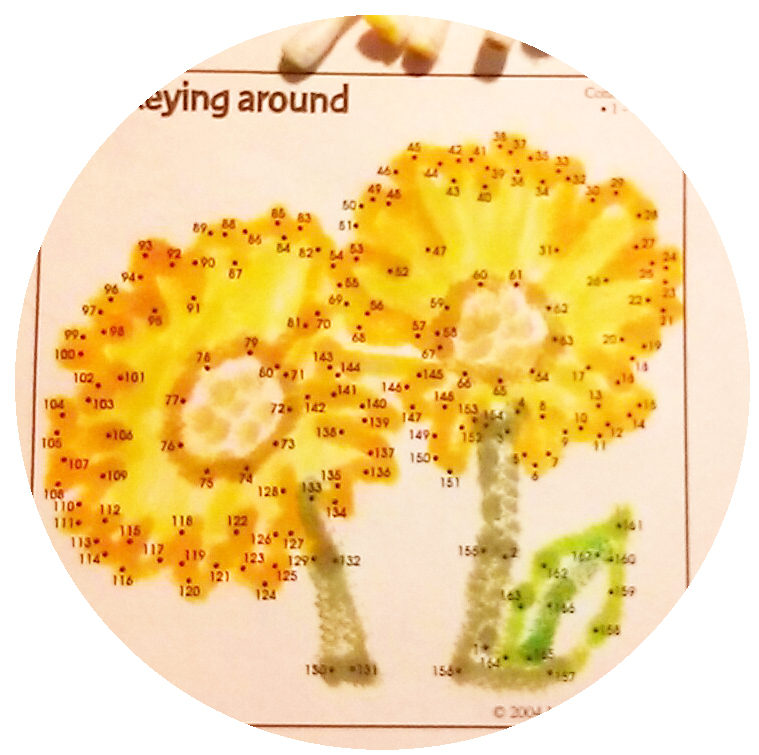
Greatest Newspaper Dot-to-Dot Puzzle solved using ink and Q-tips
2nd(solving the puzzle) – I cut out the page and erased the solved puzzle, keeping track of the numbers in the puzzle where I wanted to change colors. I used Q-tips and 6 ink pads (3 yellows and 3 greens). I dabbed the Q-tip on the ink pad and then made dots in a line on the puzzle, following the numbers in order. I used a light yellow to fill in the flowers. I really like how the Q-tip does not make a perfect dot.
Outside of Dot-to-Dot Greeting Card
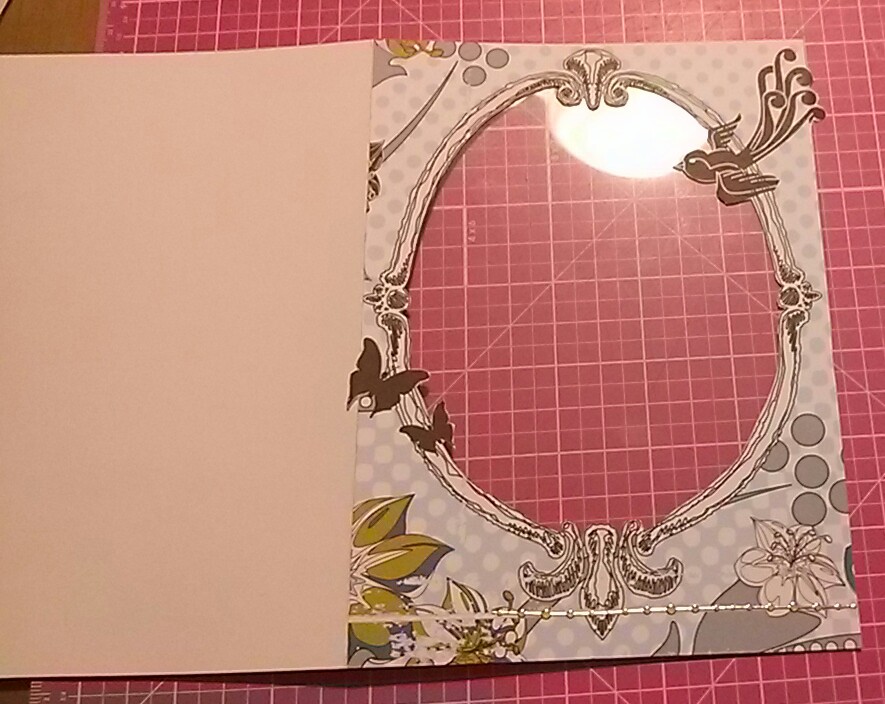
3rd(front of the card) – I cut a 10.5″ x 7.25″ piece of card stock. Folded it in half to 5.25″ x 7.25″. I cut a piece of Urban Lily Everyday Lily cardstock to fit the front of the card, trimming around the butterly and bird. I cut the inside of the oval out(unfold the card first) and then lined the back of the oval with clear acetate. I took a gold Hot of the Press dotted Dazzles line and placed it near the bottom to cover up the faded line that was on the cardstock.

The start of the inside of the Greatest Dot-to-Dot Greeting Card
4th(inside of the card) – I cut a 5.25″ x 7.25″ green piece of cardstock and ran it through my Fiskars Fuse with a Swiss Dots Cuttlebug A2 Embossing Folder, twice.
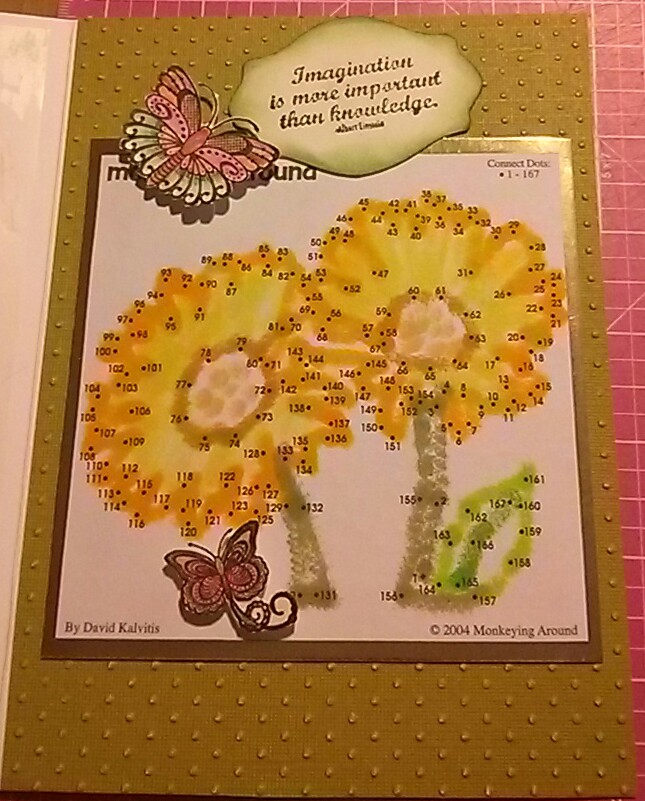
The finished inside of the Greatest Dot-to-Dot Greeting Card
5th(inside of the card) – I glued the puzzle to a gold piece of Anna Griffin® Metallic cardstock and trimmed it 1/4″ past the puzzle for a border. I used glue dots to attach the puzzle with border to the swiss dots paper. I used two butterflies stamps from the Hot Off The Press Simply Susan Papercrafting Kit. I stamped them in black Versfine on white cardstock, colored them in and cut them out. I lifted them up using foam squares. I cut out a tag using the Hot of the Press design toolkit and stamped a phrase from the Londonberry Park Stamp and Ink Kit.

here is the final
6th(final card) – I took a gold Dazzles butterfly and placed it towards the top of the card. I placed Teal Jewel Dazzles on it to add color. I cut out a tag using the Hot of the Press design toolkit and stamped a phrase from the Hot Off The Press Simply Susan Stamp set in black VersaFine. I then embossed it using black embossing powder. I attached it using foam squares. A few extra Teal Jewel Dazzles and the card was done.
That’s it. I hope you enjoyed my first Dot-to-Dot greeting card post.